Rascally Raccoons

Early spring we began losing chickens. Some of them were gone without a trace. Others were found partially eaten. We knew we had a problem, we just weren’t sure what form that problem was taking.

As we have a well fenced run area I felt confident crossing coyotes off the list. They have never made it over the fence before, it is unlikely they learned how now.

That leaves a few possibilities. Ok, tons of possibilities. raccoons, badgers, skunks and weasels to name a few. Raptors were not on our list. We have witnessed great horned owl carnage before and this was nothing like that. There were no holes dug anywhere under the fence so that pretty much crossed badger off the list. I did not think it was a weasel. We had seen a stoat about the property before but it was really small and seemed to be happy killing the ground squirrels we have plenty of. I didn’t think fox because what I understood about foxes is that they’d kill everything just for the pleasure of it. This led me down a raccoon path that was pretty much solidified by a neighbor confirming they had a raccoon family nearby.

So we started baiting a life trap, closing the gate on the barn itself and we bought and placed a trail cam to catch the culprit. The first night we caught a cat. I had wondered if it might have been a cat but I wasn’t confident this cat was our killer. So, after debating it we let the cat go and put the trap out again. The next night we caught…..something. It ripped the door off the trap so we had no real idea what it might have been.

Then we bought the pigs. We were worried, they were small when we purchased them. Still, pigs are ferocious when needed. The killing stopped for a time. I was hoping it had moved on, or the presence of the pigs in the barn was enough to discourage it. It wasn’t to last. Soon we lost a turkey. Our security doubled down. We were trying all different kinds of bait in the trap but never caught anything else. The trail cam never captured any useful photos either.

We went on vacation and I worried we’d come back to nothing. Thankfully everyone was still alive when we returned. We did have some ducks build nests outside of the run though. I had some hog panels I zip tied in a circle around the hens. Everything was going ok. The hens were set to hatch their eggs any day. Then I went out to find a wing and no other trace of the hen. The eggs were also gone. I was devastated but had hopes for the other hen. She was well hidden, it took me weeks to find her myself.

Around this time the peahens also went to brood. I saw them each day as they flew over to eat. Then, one morning, no peahens. My heart dropped and I went in search of them. I found feathers, so many feathers, and eaten eggs. No peahen. She obviously gave her attackers a struggle. We were hoping she was injured and in hiding. We searched everywhere. We’ve never found her. The other duck was also killed the same night. Her body was strewn about in several locations, her eggs eaten. At this point I called game and fish. I didn’t think a raccoon could take a peahen. I’ve seen those girls attack our dogs and win.

Game and fish came out and confirmed it was a coon. They’ve told us to stake it out and shoot it. The chance of trapping it is so slim shooting is our only option. So we have the game cam out, baited, trying to figure out which days and times the coons come around. So far we haven’t caught any pictures of them. We did get an entertaining coyote chase though. You can see the rabbit racing away in one shot and the coyote chasing it in the other.

We are nearly out of chickens at this point. We have a single turkey left. We also only have one peacock left. The male peacock went missing during the night a week ago. The ducks seem ok. Other than the ones who were nesting no ducks have been harmed. I’m guessing it’s their alert state at night that has kept them safe thus far.

 

I’ve been told a line of electric wire at the top and bottom of the fence may be enough to keep them out. That is our next step.

Save

Farm Scenes

Sometimes there are no words. Pictures are all that I have. There is so much I have not accomplished. So many things yet to be done. In these times of chaos it waters my soul to settle for a minute and photograph what has been done. The beauty that surrounds me but that I don’t notice in my busyness.

Cherry Blossoms

Plum Blossoms

Medlar Blossoms

Radishes

Sparta confused about what I’m doing.

Chicken Adventures

Ducks, Ducks, Ducks! The reason we never have clean water anywhere.

Turkey poults tasting some grass for the first time.

Piggie pics

Jiki found some fresh coyote poop near the barn to roll in. Yay…

Sparta running to catch up to us. Me thinks he’s gotten fat.

Pretty as a peacock.

Sparta peeking around the corner at the bacon bits.

Sharing is caring!


Save

Making your own Turkey Kill Cone

Ultimate Turkey Kill Cone Tutorial

This is a guest post by my wonderful Husband who does far more farming than he ever wanted to do.

Readers Notes:

*If you are here solely for the supplies and instructions scroll on down for the TL;DR section of this post.

*Pictures were not taken of the original process. The pictures attached to this post are an example of what was done in smaller scale.

A couple of years ago we raised turkeys to sell as mostly organic, free range, farm-fresh, etc. turkeys. We harvested 12-15 turkeys that year, our first time. (The exact number alludes me, but it was a lot for a first time.) I was sorely unprepared for the killing part, the scalding part, the plucking part, pretty much every part, so I figured I’d improve that this time around.

Why would I make a kill cone? I hung the turkeys upside down with rope with pretty good success last time. Although once the turkeys get above 35 pounds, trying to put their legs in the slipknot of a rope can get tedious. After I took a couple of shots in the ribs from turkey wings I decided I didn’t want to deal with the pain and hassle of it this year. I figured it’d be easy to just slip the turkeys into the kill cone and let them calm down in there, plus they don’t move around as much in the cone as they do when they are hanging loose on the rope, so that’s another added benefit.

There are about 40 pages on google on how to make your own kill cone but all of them were for chickens. I had a problem finding actual directions on how to make a turkey sized kill cone. Reading through a couple different websites the best I could find was “well I’ve never made one, but if I did, I’d do this” and their dimensions were different from other sites dimensions. All the various chicken kill cone dimensions matched up, however.

IMG_3205

I bought several pieces of  36″x48″steel flashing which didn’t list the gauge. I’m guessing this piece of sheet metal isn’t at that sweet spot of 26 gauge, as it felt like it was basically a piece of aluminum foil folded in half twice, or a little thicker than an aluminum can, but it worked just fine. I bought this at Home Depot, and the sheets were about $16 a piece. Most websites were saying to use tin snips to cut the metal. The tin snips this place was selling were $34?! more than the cost of the two pieces of sheet metal I was getting. I thought, “Screw it. I have a circular saw with a metal cutting blade, I’ll just use that.”  Trying to cut a giant piece of basically soda can metal without a proper cutting work bench is a pain in the neck, and I wouldn’t recommend it at all. If you don’t have a pair of tin snips, don’t be cheap and just buy the freaking things (at the time of this posting we still don’t own tin snips, so listen to my “don’t be cheap” rant with a grain of salt).

IMG_3206

The next hurdle I came up to was how to fasten the metal together. One site said to use tapping (self drilling) screws into a board, another said grommets (man, I really wish I knew how to do that) , another said rivets, and another one just said to use nuts and bolts. I bought tapping screws, which I didn’t use and some nuts and bolts, which I did use. Just buy the smallest size nut and bolt they have.

IMG_3204

Now comes probably the hardest part if you aren’t good at math, which I am not: the trapezoid. You basically cut the metal into a trapezoid and roll it like you are rolling a newspaper to swat a fly, and that makes the shape of the cone. Now some sites will try and have you cutting these elaborate patterns that aren’t true trapezoids but a sort of trapezoid with some stupid looking tab you might see on a filing folder in a filing cabinet. You don’t need to mess around with all those extra cuts and curves, just cut a dang trapezoid, if you are lucky enough to cut on just two lines DO IT! But you’ll probably have to do three.

IMG_3208

Now comes the difficult part of rolling the cone and putting whatever type of fastener on that you are going to use. For these turkey size cones, you will need help, trust me. Roll the metal, measure the head opening 7″ wide. Have someone hold the metal together, drill holes and insert your nut (flat side on the inside of the cone). Fasten the ends first. You can do the other 2-3 holes or fastening areas on your own.

And there you go, that is basically all there is to it. The “experts” on the other sites say you can do it in about 5 minutes. And you probably can, but for a first time without all the right tools, look at it being 15-20 minutes of your life to save you not having to deal with angry turkeys hanging upside down from rope.

IMG_3210

Oh, and you’ll want to hand this thing up on a sturdy piece of anchored wood, to do that add a piece of metal from the scrap metal you have from cutting it. The metal I was working with felt too thin to use it so I folded it in half using an eyeballed 8″ x 3.5″ piece, I folded the metal and drilled that into the cone at the top of it so I cold use that tab to hang it on the beam. It worked OK, but if I had to do it again I might fold it 3 times so it’s thick enough to hold it without the threat of it ripping in half and the entire apparatus falling.

IMG_3214

Picture of hanger for actual turkey cone

Size difference between turkey cone and chicken

Size difference between turkey cone and chicken

———————————————————–

TL;DR section

Supplies

1 sheet of sheet metal (I used a 3’x4′ steel sheet flashing of unknown gauge)

1 box of 3/8″ nut and bolts (I got a 12 pack, but if I knew how, a steel grommet would be better)

Tin snips if you have them, something to cut metal if you don’t

drill and 3/8″ bit to make hole for the bolts if you aren’t using grommets

sharpie

screwdriver and/or ratchet for the bolts and nuts

Instructions:

Since I was working with a 48″ long piece of flashing I calculated 25.35″ and rounded up to 25.5″ for a final area of 25.5″ height x 24″ base1 x 48″ base 2

  1. Draw trapezoid to fit the above dimensions with the sharpie or anything that will mark on the metal.
  2. Cut the metal with tin snips or anything that will cut metal.
  3. Roll the metal so that the opening where the head will go is ~7″ wide, the top of the cone will be wide enough for giant whites to fit in comfortably.
  4. Drill the holes along the cone where the metal overlaps, people recommend 5 holes, I made due with 4, or use grommets, I don’t know how, so if you want to know google it.
  5. Insert the bolts so the flat part of the bolt runs along on the inside of the cone (you don’t want the birds getting cut up by the bolts) and tighten.
  6. There is a sort of ^^ since my sheet metal wasn’t long enough where the metal overlaps, I just tucked those down with some pliers and installed a hanger. to make the hanger I just took a long piece of extra metal left over from the cutting, folded it in half, and drilled a couple holes through the cone into the  piece I made and put some bolts in there to secure it, and I put a couple more holes in the top part of it to attach a couple screws into the wood beam we were attaching it to.

A walk around the house


IMG_2132

Come take a look around with us. Turkeys approve this message, so long as it comes with snacks.

IMG_2128IMG_2126

Yellow sweet clover? We’ve got 30 acres of that! It’s also freakishly tall.


IMG_2119

I finally found rubber boots for the kids. They want to wear them everywhere now.

IMG_2116

Prince is losing his train and Ella thinks it’s hilarious to try to tickle him with the feathers.

IMG_2097IMG_2110

We saved a butterfly last week!

IMG_2113

Taking a ride to feed the babies.


IMG_2055

Hazelnuts are on the cusp of doing well and dying. how is that possible you ask? Well excessive rain and that sweet clover that grows taller than everything else. Ugh!

IMG_2019

White oaks are doing alright though.

IMG_2013

Ducks still think I’m Satan.

IMG_1976

Paw Paws are doing well!

IMG_1973

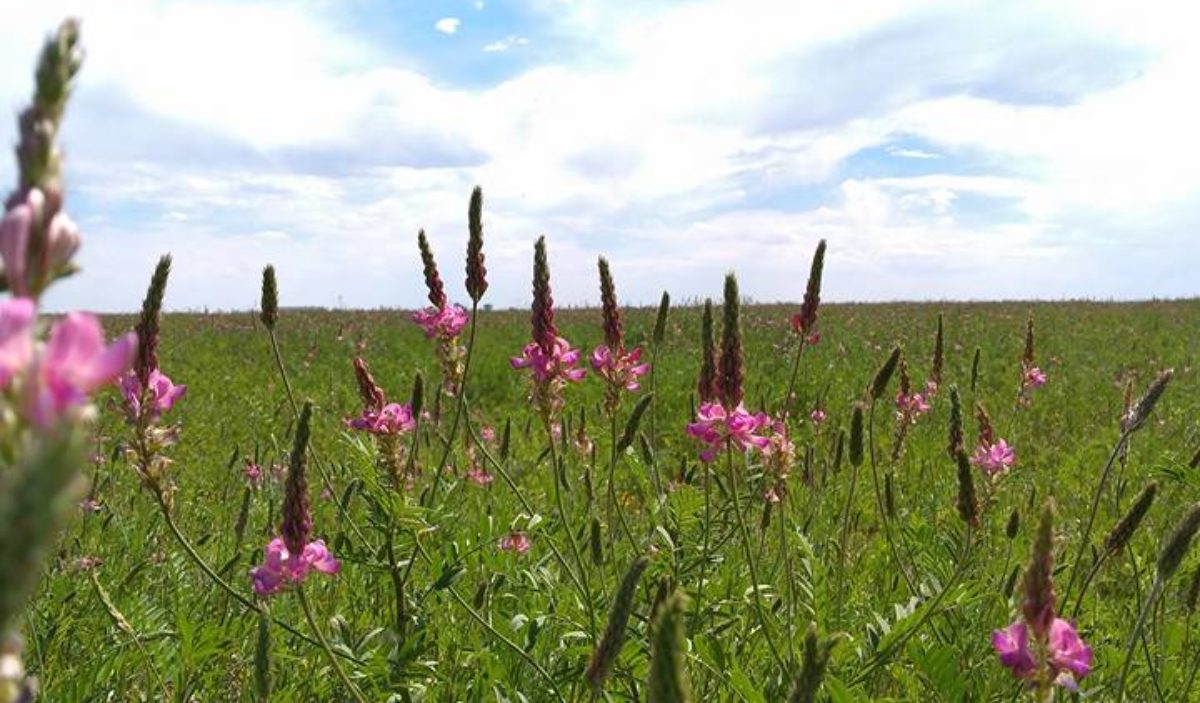
Vetch. Love it!

IMG_1936IMG_1892

We have lots of flowers popping up.

IMG_1959

Bindweed. Super depressing amounts of it!

IMG_1896

The duck and Prince love each other.


IMG_1903IMG_1905

Sugar snap peas. I haven’t cooked a single one. They get eaten right from the pod!


IMG_1875

Grapes are struggling a bit

IMG_1787IMG_1794

Gourds are doing alright. They’re even rooting along the vine. Crazy!

IMG_1820

This is one of the Kraters. It’s doing well!


IMG_1801

Jiki our pyr has to come out with me to protect me from the coyotes!


IMG_1761

We have salad!

First Turkey Processing *Graphic Pics*

Turkey Processing

I have this addiction to buying birds. If they go on sale, watch out! So one year it got a bit out of hand. I bought 5 Giant White turkeys. Unfortunately only 1 lived. We named him Lucky. One of the only birds to ever be named on our property. Shortly after that we bought 9 bourbon red turkeys from a 4Her. After that I was buying food and there were broad breasted bronze turkeys on sale. I bought them all, 10 in total. Feeding time got a bit crazy!

the kid is surrounded!

We suffered some deaths. The Bourbon reds kept flying into the dog run and getting eaten by the dogs. I had one broad breasted bronze die from an unknown disorder. Otherwise they did well and grew quickly!

Gobble!

I really loved the turkeys. I just enjoyed having them around. They were funny and slow. Our Son could pet them like puppies. Just enjoyable birds. Unfortunately they were food and it was the weekend before Thanksgiving. We gave most of them away but sold a few. We invited friends over, had my parents watch our kids and got to work killing.

First we got the scalding pot ready. Our scalding pot is an extremely large tamale pot that we got at a flea market in Denver. We heat it with this Bucket Heater. This is the actual bucket heater we bought and use. It is an affiliate link. It was extremely cold the day we did this and it took some time to get the water up to temp. We finally elevated it off of our freezing cold concrete on some blocks. After that we did not need the heat gun to help. The bucket heater heated it just fine.

water check

In anticipation of this day we bought a plucker. Boy am I glad we did! Now I have hand plucked birds. It’s not bad if you are just doing 1. It is bad if you are doing more than that. It takes a large amount of time and can really make a persons fingers ache. So while this plucker was mondo expensive I’m glad we have it.

plucker

We caught the bourbon reds first. I thought it would be wise to do smallest to largest. The men were killing, scalding and plucking and I had a friend inside who was helping me gut and bag them.

hanging

We hung the birds up and slit their throats. Not pretty but effective and imo, humane.

Ivan and BBW

Here is my beautiful husband holding our large broad breasted bronze Tom. He had a processed weight of 35lbs.

plucked

Yup, that’s him.

35 lb

Doesn’t that plucker work fabulously!

“Lucky” was last. He was 60lbs live weight. Quite the bird to catch and haul.

Lucky

Took 2 men to hold him for scalding.

scalding Lucky

cooked Lucky

Took our entire oven and 1/2 a day but Lucky tasted fabulous!