How to ripen green tomatoes

How to ripen green tomatoes

We grew approximately 100lbs of tomatoes this year. I was VERY happy. However, we don’t tend to eat raw tomatoes. I use a lot of tomato sauce, however, so when I picked all of our tomatoes before they’d ripened I had to figure out how to ripen them indoors.

Why did I pick them early, you may ask. Well, two reasons. First, the turkeys figured out how to jump the fence and were eating all the ripe ones. Secondly, our great pyr got mad at us when we went on vacation and destroyed my tomato bushes with his big furry body. /sigh

green tomatoes

I originally laid all the tomatoes out on our dinning room table. Unfortunately it took the entire table and we do eat there, so I acquired some brown paper grocery bags from my wonderful mother-in-law and started loading the tomatoes into it. My husband wanted to see which would ripen the tomatoes better, an apple or a banana. So some bags had apples and some bananas. I can now safely say apples do a better job. The banana bag still had a lot of green tomatoes in it.

yellow tomatoes

I wanted to ripen the tomatoes quickly because of space constraints and because I knew I wanted to can all of them. I didn’t want to be doing small cannings for the foreseeable future so I sped up the ripening and canned a massive batch of sauce over an entire Sunday.

herbs for sauce Prepping for sauce making sauce assistance

I used the roasted tomato sauce recipe I posted about Here.

It took about 2 weeks to getĀ  90% of the tomatoes ripe using the bags. I did check them and remove any ripe tomatoes and put them on the table to wait. I also removed any tomatoes that were rotting at that time. I did not have that many tomatoes rot in the bags and it wasn’t a big issue for me to check them. I will use this method again in the future.

Now, I have 10% of the tomatoes left in a bag and I guess that means I have to do another canning at some point. Save me!
Home Made Spaghetti Sauce- my first time

It has been an amazing tomato harvest for us this year. I’m very happy. I am also learning how to preserve tomatoes now. Sauce, salsa and diced tomatoes are what I’m after. I haven’t canned before though, well aside from the salsa. I’d never made my own spaghetti sauce and so I took to the internet to figure it out. Two recipes really stood out to me. This one and This one. The first is a Sicilian style sauce with wine. As you may know, we love wine. I grabbed my favorite Merlot, as can be seen in This post, for it. The other was slow roasted in the oven. I had to try both. So I divided my tomatoes up and set to work. I mostly followed both recipes. I must admit, I have a hard time following recipes to the T. I have my own style.

First I went out and hunted down all the necessary herbs from the yard.

IMG_2742

Oregano

IMG_2743

Basil

IMG_2744

Sage and Thyme

IMG_2746

Washing and shredding herbs

IMG_2747

Washed and shredded herbs

Next, I chopped my onions and garlic, for both versions. The kids were eager to help, as usual. Son was very excited about helping “skin” the garlic. Daughter washed the tomatoes. For the record, while I love the kids helping I do rewash stuff. Their version of washing is just spraying water all over my kitchen. GAH!

IMG_2750 IMG_2752 IMG_2753 IMG_2754 IMG_2755 IMG_2756

I added bell pepper to the roasted tomato sauce. I happen to love roasted bell peppers so it was an obvious addition for me!

And now, the tomatoes! I did not skin any of them. I was going to blend them anyway and was cool with the skin remaining. I harvested the seeds from the best tomatoes while I was cutting them up for the sauce. I simply put them in the strainer, washed them off and then left them to dry in a labeled coffee filter.

IMG_2759

IMG_2761

IMG_2767

I did enjoy a good glass of Merlot, while also adding some Merlot to the Sicilian sauce. If you are interested in our review of this Merlot see Here.

IMG_2760

I cooked the Sicilian sauce down a bit and then crushed everything up a bit. Well, the kids did, enthusiastically.

IMG_2764

While the sauces were cooking low and slow the kids and I made fish and chips for dinner. Turns out Son is all talk about his love for fish as he refused to eat any until I convinced him it was chicken. This in spite of him helping me with the fish…. I did tell him after he’d eaten that it was fish. He’s caught onto me and when he asked if the pork I offered him at a later meal was chicken I asked him if he’d prefer I lie. He stated yes and ate the pork. It’s all good.

IMG_2766

IMG_2765

IMG_2769

As an aside, doesn’t my kitchen remodel look amazing so far!

IMG_2771

The kids were in bed before the sauces were ready to be blended and jarred. That was fine with me. I didn’t want to have to explain 9 million times to Son that I would not allow him to put the jars in the hot water because he’d likely burn his arm off. Oh how many times I’ve had that conversation already. If you are wondering why I simply don’t let him learn the hard way, I have. He just likes to ask the same question over and over and over and over and…………………..

So I added some lemon juice and sugar, popped the sauces in the blender, jarred them and put them in the hot water until they were ready. A LONG process but a satisfying one. The sauce from both is amazing!


Country life

Pumpkin
This pumpkin has been eaten by the turkeys since this picture was taken.

IMG_2397

Kitchen garden is having it’s ups and downs. I have a squash bug infestation. This is made a bit better by the spider that has taken up residence at the bottom of the squash. The squash that have managed to grow are getting eaten by the birds. Turkeys I think. I’m going to have to make that fence a priority.

IMG_2379 IMG_2380

The wine bottle hot box looks good. Things are really growing now. Flowers have bloomed and we are excited!

IMG_2381IMG_2384 IMG_2385 IMG_2386

Corn is growing well as well as the tomatoes, peppers and green beans. Green beans have been harvested twice already and are still growing strong.

IMG_2459 IMG_2461 IMG_2465 IMG_2467

We took a nice walk last night. Son was excited to wear his boots and walk in the puddles from the rain the day before.Ā  Daughter rode in the backpack. That thing is a life saver.

IMG_2444

We have purchased a new macro lens and I’m having a heck of a time figuring it out. Tried to take a nice picture of one of our many sunflowers and this is the best I could get. Ugh!

IMG_2437

Vetch pod

IMG_2419

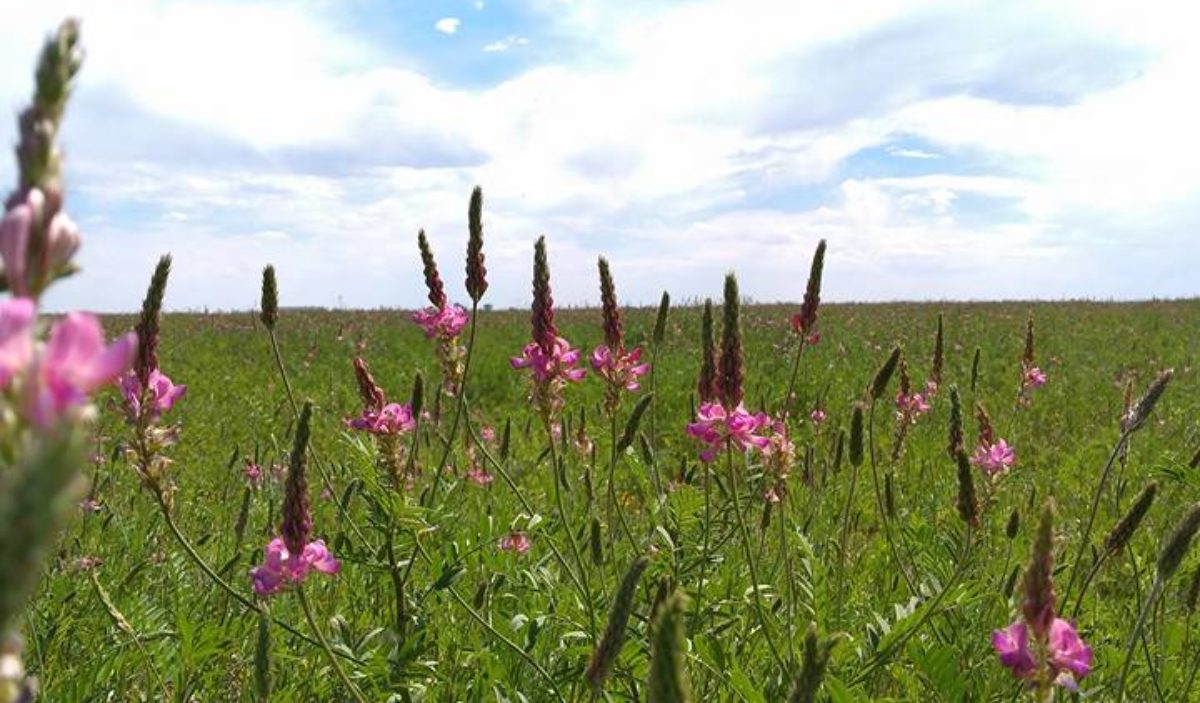
I have a few random plants growing around the property. Wind blown seed, never watered. I’m impressed with the fact that this has grown at all.

Why I don’t trellis my tomatoes

Why I don't Trellis my Tomatoes

I see many tips and designs for tomato trellises out there. Some quite fancy, some nothing but string. I am not using any of them. My tomatoes are doing just fine growing wild and free.

IMG_2280

WHY I don’t trellis can be credited back to Joseph Lofthouse on permies.com. He is a pioneer in landrace gardening. You can find him here. A few of the quotes that had an impact on me are:

Some people say that landraces arise only by natural means. My response is that landraces are always domesticated, and domestication only happens because farmers select among this year’s crop for the traits that they hope will show up in next year’s crop.

I noticed that plants from my saved seed grew differently… Because my vines tended to arch upwards to keep the tomatoes out of the dirt… Since I don’t stake tomatoes I only save seeds from tomatoes that are not touching the dirt and rotting. So I had inadvertently been selecting for genes that keep the tomatoes suspended in the air without staking.

Now, I’m a lazy farmer. I have a lot going on in my life. Lots to do. So trellising takes valuable time, energy and money. I don’t have any of those resources to spare for something like that. So I planted them and guess what, they’re doing what Joseph’s have done. They are supporting themselves, growing up, vining without support. It is AMAZING to see my tomato bushes. I love how easy it has been. I water every once in awhile but otherwise I’ve done nothing to my tomatoes. I believe we are going to have a bumper harvest this year and I’m a excited to get to eating/freezing and drying these wonderful tomatoes.

I will be saving my own seeds, of course.

IMG_2332

Tomato plant in planter box.


IMG_2334

Tomato plant in tire of kids sandbox. Lower stems are supporting this main stem in growing fairly upright.


IMG_2289

My tomatoes sure are busy this year!

New purchases and Updates on growth

We recently purchased some grape vines from a hobbyist in Colorado, 5 dormant frontenac grapes and 2 Tramenier grape vines . We also received our Gurney’s grape order of 5 Reliant grape vines. They arrived bare root and dormant and so I took the risk of putting them outdoors, heavily mulched.

IMG_0821
Furry butt here is the reason the grapes are caged. Don’t want him getting bored and chewing them up.

IMG_0820 IMG_0818

The pistachio tree is doing quite well.

Growing Pistachio Trees from Seed

The apple seeds I’ve been growing are hit and miss, but mostly doing well.

Apple Seedling

IMG_0810

The lone locust tree seedling I have is growing slowly, but growing.

Locust Seedling

My tomato seedlings look…unchanged. I’m doing something wrong, obviously, but I do not know what.


I’ve had bug issues. The bamboo brought them into the house. The grapes cuttings I’m trying to root were the worst hit. I’ve since putĀ diatomaceous earth on all of my indoor plants. We shall see if what they say is true, and the bugs die.


Everything else is not noticeably different but doing well.

I have planted out the hill I built for the kids slide, mulched it and tried my best to keep the mulch in place. I’m hoping in a few weeks I will be able to remove the fencing.

IMG_0816

The birds enjoyed making it into the yard, usually heavily guarded by dogs. The ducks took the most advantage, though a few chickens came in. We had to escort everyone out before dinner, so the dogs could go back out. This gave the kids an opportunity to pet a chicken.

IMG_0823 IMG_0836 IMG_0841 IMG_0843 IMG_0849 IMG_0853 IMG_0860

Yesterday we also brought home a new peacock, to replace the one that was killed by the dogs. He’s an india blue black shoulder. He had some broken feathers in transit but is still looking mighty fine. The kids took the opportunity, while the pea decided whether to come out of the cage or not, to pet his long tail and peak in on him.

peaking at the new boy petting the boy Unsure boy

We hope he adjusts well and that we can open the door to the barn again soon. They’ll all be locked in there until we are sure the new pea won’t fly away.

Here are a few extra, gratuitous pictures.

IMG_0805 IMG_0806 IMG_0799 IMG_0791 IMG_0788 IMG_0784 IMG_0780 IMG_0707 IMG_0699 IMG_0692

Gardening in Winter- Indoors

Indoor Propagation and Seed Starting

Behold my propagation/seed starting winter garden. I have a lot going on. We only have 2 windows that get enough sunlight to grow plants. This is but 1 of them. What I have here is 2 Russian Pomegranates (black pots), lots of mint, Niagara grape cuttings being rooted, mulberry cuttings being rooted, Pineberry seeds that are hopefully growing, cold hardy kiwi that I most likely killed, tomato, Russian Almond (can’t see) and onion bulbs I was hoping to have go to seed before spring.

Now, allow me to break this process down.

Ebay, oh Ebay. I bought a ton of stuff off of Ebay. Most of them came in excellent shape as well.

20141222_141050This is a mulberry I purchased off of Ebay. I bought 3 different kinds of Mulberry. I potted this one up and stuck it in the window. It now looks like this:

OLYMPUS DIGITAL CAMERA OLYMPUS DIGITAL CAMERAIt has taken off!

So have the Russian Almond bushes I have waiting in their cereal box planters

OLYMPUS DIGITAL CAMERA OLYMPUS DIGITAL CAMERA

The grape cuttings are beginning to leaf out as well:

OLYMPUS DIGITAL CAMERA

As are some of the unrooted Mulberry cuttings I’d purchased:

OLYMPUS DIGITAL CAMERA OLYMPUS DIGITAL CAMERA

As you can see I have them in a sort of mini greenhouse. It is working just fine!

I haven’t taken any other pictures of my pomegranates. They have not done anything noteworthy since I got them.

I bought all of these things in mass, at once. So naturally they all arrived in the mail at the same time. This meant I had a busy evening ahead of me. Thankfully I have some very happy helpers.

20141222_184909 20141222_184654 20141222_184850 20141222_184835 20141222_184825 20141222_184703

Daughter is busily throwing dirt about, and occasionally getting it into a cup, while son is scarifying the hazelnut seeds for me.

20141222_184818 20141222_184843

Here they are. Pre-scarifying and then planted in their mini greenhouse, ready to go outside for stratification. They are outdoors now, placed in a new mini greenhouse as I broke the last one. I didn’t see any change in them. I’m hoping at least a few of them germinate. Who knows. I have a few grape seeds in there as well. I realize grape is said to be terrible to get from seed but I’m trying anyway as seen here:

20141222_184901

I also bought some bamboo. It arrived very well packaged. And is doing quite well situated in our other available window. The great pyr tolerates many things, odd plants stuck in his food dish are just part of the package.

OLYMPUS DIGITAL CAMERA OLYMPUS DIGITAL CAMERA OLYMPUS DIGITAL CAMERA OLYMPUS DIGITAL CAMERA

Here are a few pics of the mint I’m propagating. We have a lot of bare land so I have no problem sporadically planting mint about and seeing what happens.

OLYMPUS DIGITAL CAMERA OLYMPUS DIGITAL CAMERA OLYMPUS DIGITAL CAMERA OLYMPUS DIGITAL CAMERA OLYMPUS DIGITAL CAMERA

Now for some of my odder projects. I get throw away produce from a local grocery store for my poultry. Whenever I’m sorting through and find something good I always try to see if I can save it. These carrots are part of that. They are organic carrots and I’m hoping to allow them to go to seed. They are doing marvelously. I started them in wet paper towels and when I saw enough roots I planted them into cups. I think I’ll just leave them in the cups now. I did the same with some onions. The onions are less pleased with my treatment though. I don’t know that I’ll get anything from them.

OLYMPUS DIGITAL CAMERA OLYMPUS DIGITAL CAMERA OLYMPUS DIGITAL CAMERA OLYMPUS DIGITAL CAMERA OLYMPUS DIGITAL CAMERA OLYMPUS DIGITAL CAMERA

Some thyme that was also a grocery store save.

OLYMPUS DIGITAL CAMERA

I also made my own rooting hormone from willow this year.

Make your own rooting hormone

I will share my secret. I cut up willow, put it in a used Starbucks drink jar with water and then forgot it. Voila!

OLYMPUS DIGITAL CAMERA

Quick look at my tomato seedlings. Just milk jugs with toilet paper rolls. They are doing well so far!

Stay tuned for my tree seed post and my outdoor winter gardening post. This just got too long to include anything else.