DIY Playground update

a diy playground

I really like this picture. The tires that form the back wall of the tire sandbox are bursting with greens (tomatoes and weeds mostly), everything is shiny and bright and the kids are happy as clams. What’s not to love.

IMG_1890 - Copy IMG_1889 - Copy

Things are growing exceptionally well in those tires. I put a tomato in each. Daughter helpfully weeded 2 of them out. I also have some green onions thrown in here and there and mint growing in a bottom tire.

IMG_1888 IMG_1886

So we finally moved the bucket pulley closer to the sandbox and added hooks to help with toy storage. Do the kids use them? Nope. Daughter is only trying to get the shovel off, she couldn’t btw. Brother had to help her. That clothes basket is what we have been using to hold all of their toys and still use to hold some of them. It is supposed to be hanging on the post but…..life.

Tether Ball being cementedIMG_2157

I also completed the tether-ball, which is a favorite of visiting nieces and nephews.


I ruined the balance beam as well. I had to move the dirt filled tires so we could till for the clover planting. I need to refill the tires and just haven’t got around to it yet. Eventually!

IMG_2158

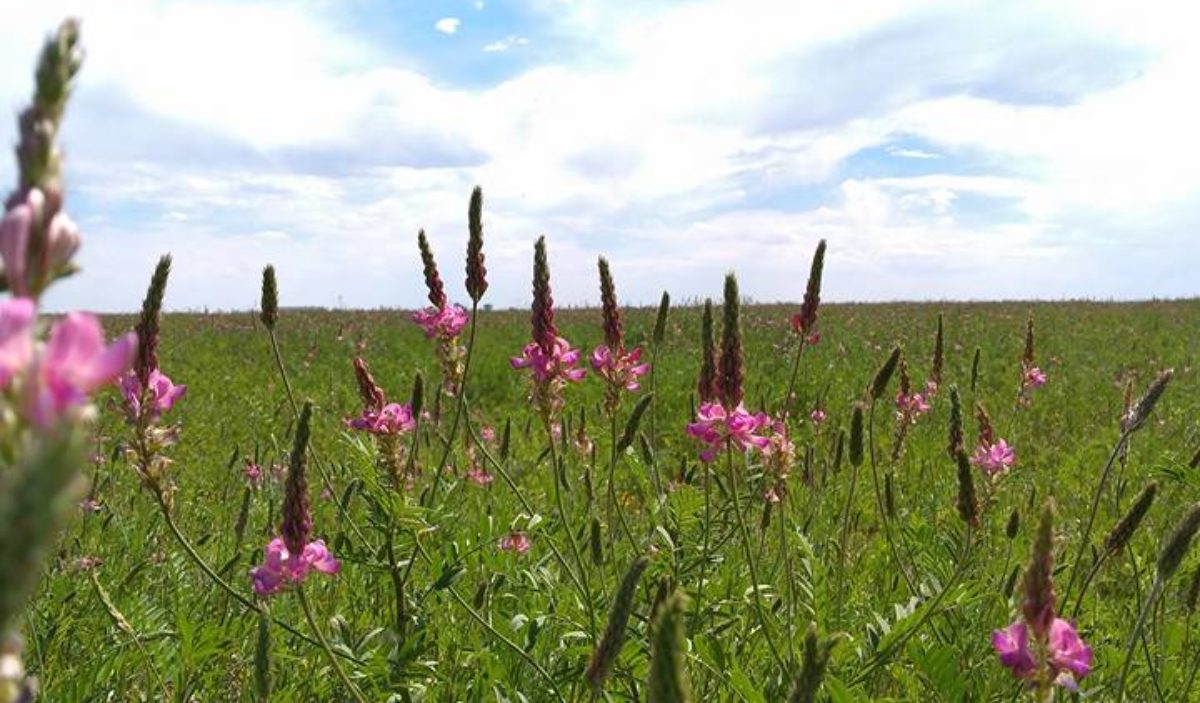
The clover is coming up spectacularly though!
Tire Sandbox

Make a Sand Box from Old Tires

Tires are a material I really love. Free, versatile and fun. So when I saw this Pinterest post I knew I had found an ideal sandbox idea. So I started collecting tires from a local tire shop. The first step was cleaning them. I used simple dish washing liquid and a car scrub brush. Then I cut the ones that I needed to cut in half. I did this with a linoleum knife Like this one for the sidewall, and a metal cutting blade on a regular circular saw for the tread.

Tire cut in halfI painted all of the tires with regular spray paint. I just bought cheap stuff from Wal-Mart.

IMAG1279

I used about 2 coats per tire. The larger tires required an entire bottle of spray paint. Now, some of the tires did not take the paint well and flake something awful. I’m just living with it.

IMAG1289

Next I laid out  my tire pattern and dug holes for the halved tires. I did cement these tires in. I then stacked the whole tires, filling each with dirt as I did so. I was ramming dirt into the interior of the tires but even so there has been some sagging where I did not fill them enough. I’d suggest using a sledgehammer. I found the tires to be a great way to keep Daughter entertained. She wasn’t able to walk at this point and wasn’t very good at standing. The tires were perfect for helping her with this!

IMAG1284

IMAG1286Son was just entertained.

Once I had my tires stacked and ready I laid landscape fabric on the ground, tucked it into the tires and began adding sand. It took a lot of sand. I had bought 6 bags to start with and it barely covered the bottom of the sandbox. I think we are about 20 bags in. This would work great if the stupid dog seen in this picture didn’t keep digging in the sandbox.

sandbox

Anyway, the sandbox has been working well. We have had bug issues. Black Widow mostly. I have to check everything before I let the kids out to play. I am going to fix that issue with cob this year.

This post contains affiliate links.