How to grow and use lemongrass with a recipe

Growing and Using Lemongrass

Lemongrass is such a wonderful plant. It can be used in cooking, to deter bugs, to make tea and medicinally. WebMD even has a page on it:

  • Lemongrass is a plant. The leaves and the oil are used to make medicine.
  • Lemongrass is used for treating digestive tract spasms, stomachache, high blood pressure, convulsions, pain, vomiting, cough, achy joints (rheumatism), fever, the common cold, and exhaustion. It is also used to kill germs and as a mild astringent.
  • Some people apply lemongrass and its essential oil directly to the skin for headache, stomachache, abdominal pain, and muscle pain.
  • By inhalation, the essential oil of lemongrass is used as aromatherapy for muscle pain.
  • In food and beverages, lemongrass is used as a flavoring. For example, lemongrass leaves are commonly used as “lemon” flavoring in herbal teas.
  • In manufacturing, lemongrass is used as a fragrance in soaps and cosmetics. Lemongrass is also used in making vitamin A and natural citral.

How does it work?

Lemongrass might help prevent the growth of some bacteria and yeast. Lemongrass also contains substances that are thought to relieve pain, reduce fever, stimulate the uterus and menstrual flow, and have antioxidant properties.

Source

I wanted to grow lemongrass for a different reason, the oil attracts bees. As you know we built our own beehives. I do not want to buy a package of bees, I’d rather attract a swarm. To do that I needed lemongrass essential oil. Husband has been wanting to try his hand at making essential oil, so I just needed the lemongrass. I went to our local oriental market and bought all the lemongrass they had. I put them in a jar of water until they’d sprouted roots, then I planted them out to the kitchen herb garden. They have really taken off. I’ve harvested some for lemongrass chicken and loved it.

lemongrass

Lemongrass

thai basil

Thai Basil

Here is Daughter helping me prep the lemongrass. Ok, she’s just chewing on it. She informed me she didn’t like eating grass.

  a-real-help

Such a cute face!

IMG_2997

Stripped of stalk.

IMG_2996

All I did to prep the lemongrass was strip off the base leaves, cut the white base of the stalk off, wash it and chop it up to be added to dinner. The recipe I gathered inspiration from is this one. As usual, I didn’t follow the directions and modified as I saw fit. I used bean noodles, sliced chicken breasts, carrots, and green onions. I did not use fish sauce, cuz yuck!  O let me just tell you my recipe:

Lemongrass Chicken with Bean Noodles

Ingredients

  • 1 serving bean noodles
  • Olive Oil- enough to coat bottom of pan
  • 2 large lemongrass stalks or 5 small ones.
  • 1 clove garlic, minced
  • 1 teaspoon dried ginger
  • 10 leaves fresh thai basil
  • 1 carrot sliced thinly
  • 2 Tablespoons lemon juice
  • 1 TB brown sugar

Directions

 Cook bean noodles as directed on the package.

Add lemongrass, ginger, oil and garlic to a medium skillet and sauté until fragrant. Add the sliced chicken and cook through. Add lemon juice, basil and brown sugar and coat chicken. Next add the noodles and warm through. Remove and serve in a bowl with carrot curls and green onions.

Add spice, to taste with sriracha or red pepper flakes. My children do not like spice and so we kept it optional.

I think bean sprouts would be great in this dish but I didn’t have any when I first made it and it was still great.

IMG_3004

Cooking noodles

IMG_2995

Cooking the lemongrass, garlic and ginger.

IMG_3003

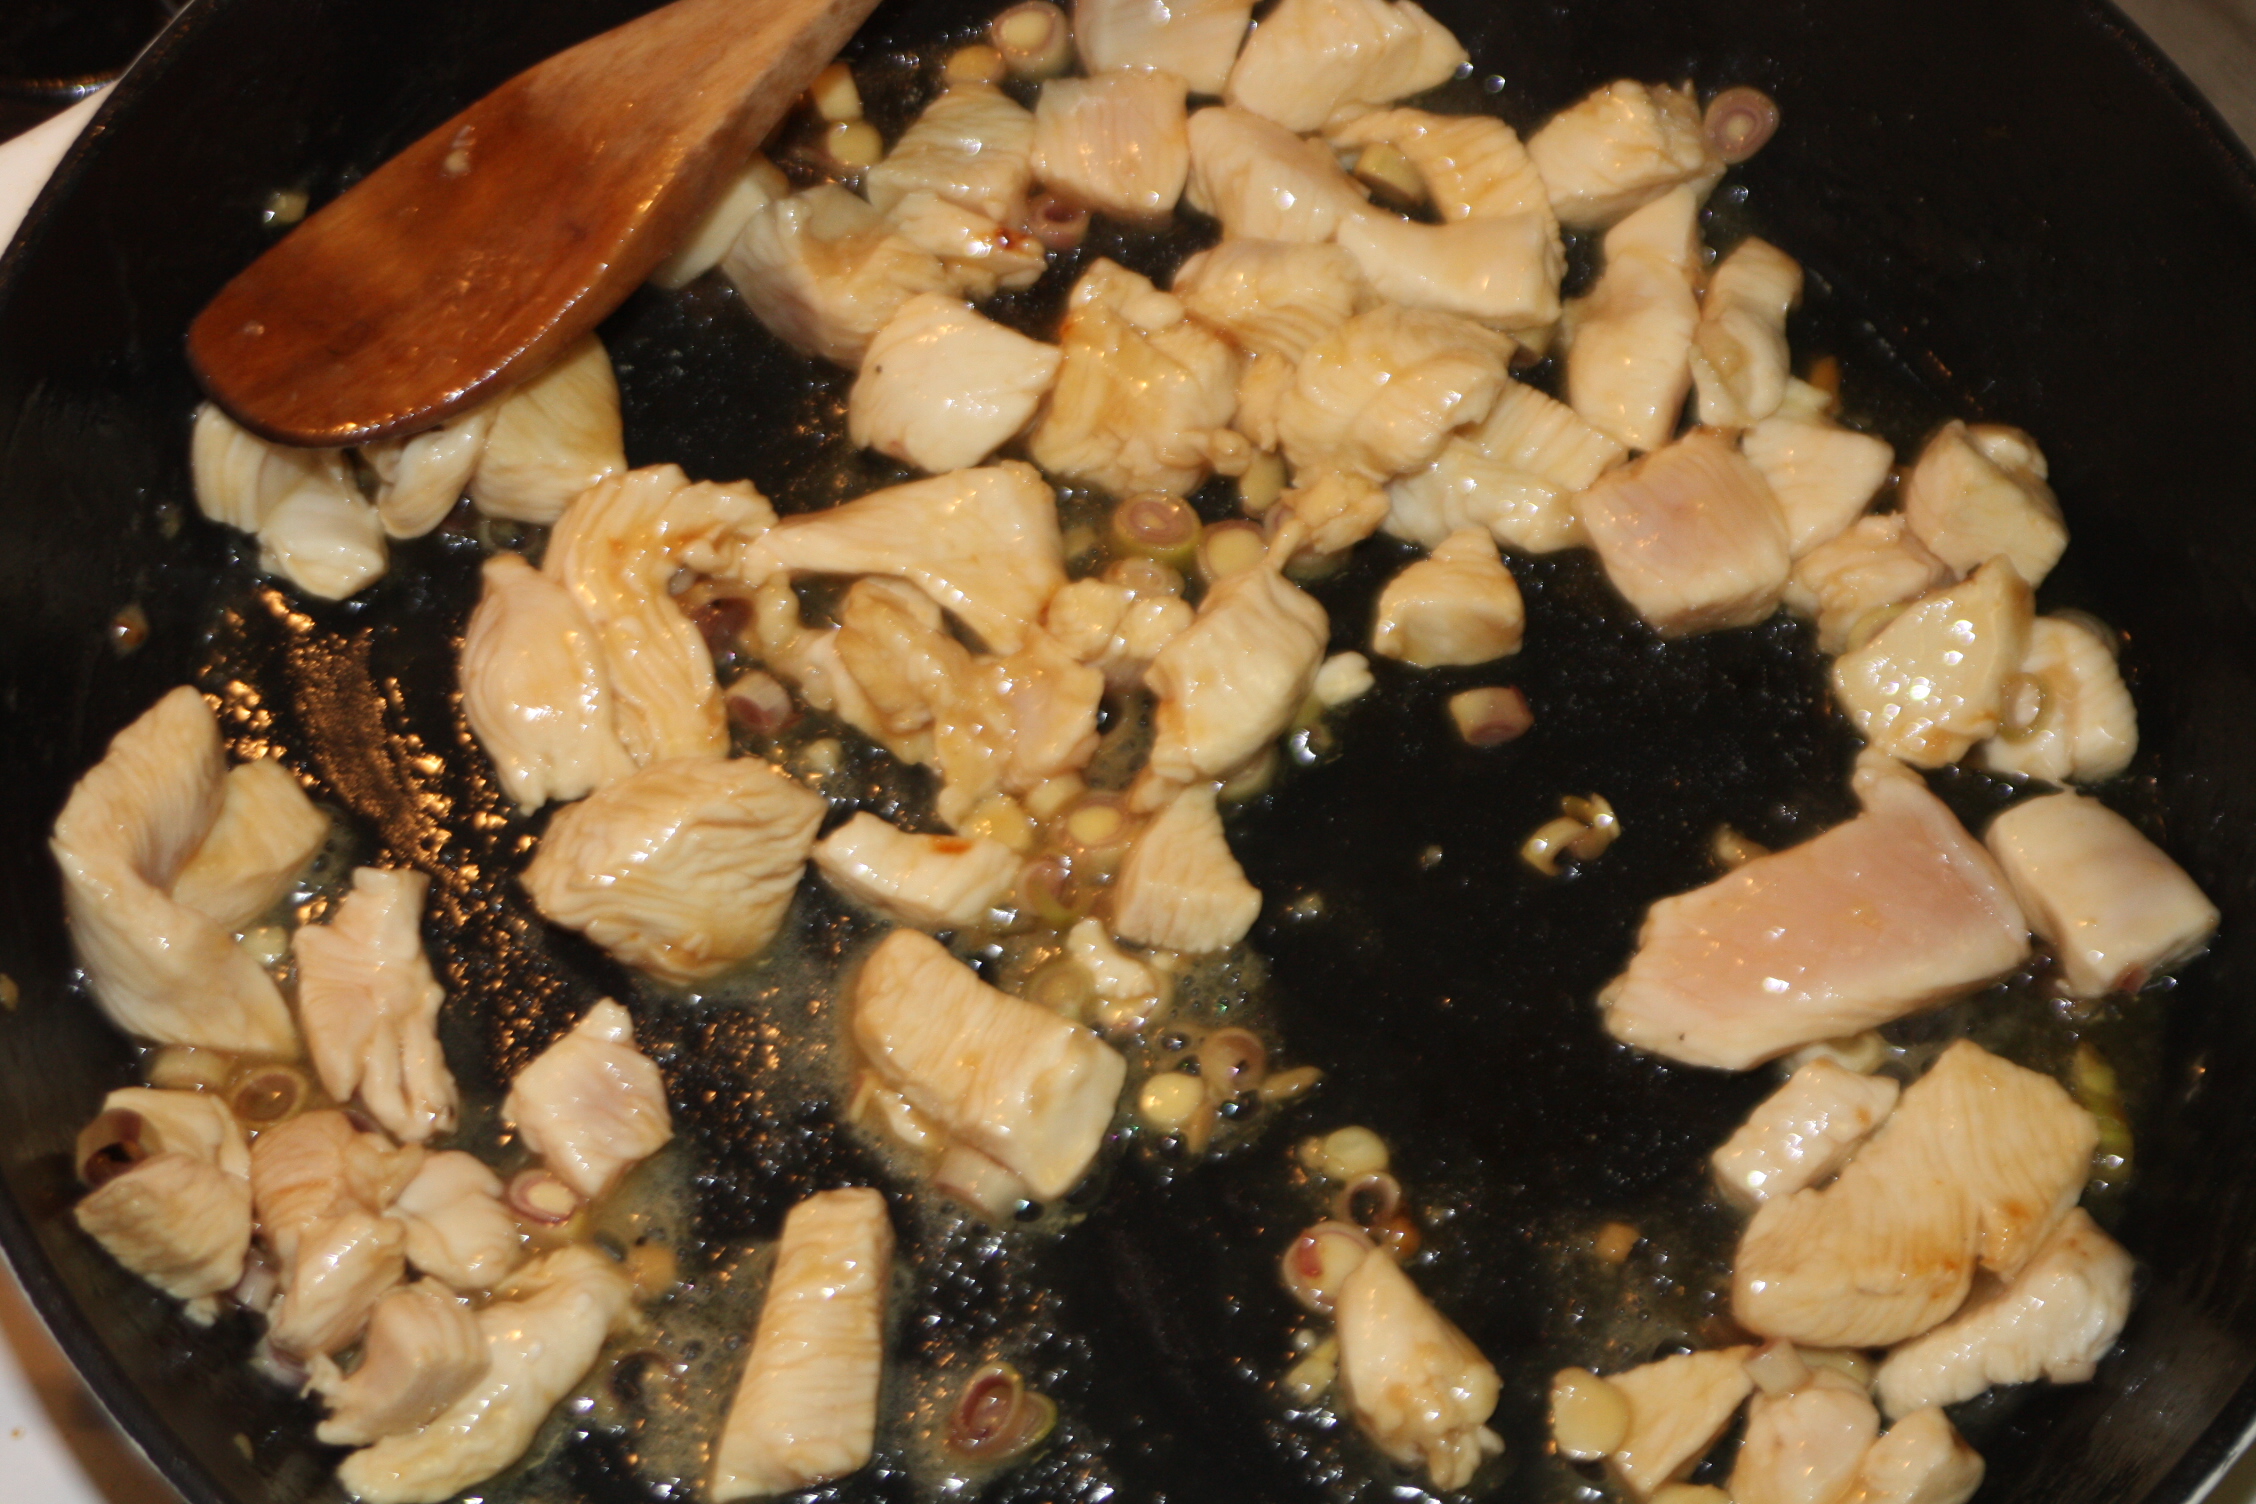
Browning the chicken.

Lemongrass chicken with noodles

Delicious!

What really works to control houseplant pests?

Debunking Houseplant Pest Control Myths

That is the question I’ve been mulling as I suffer through pest after pest on my indoor plants. I believe I have spider mites. I know I have aphids, white flies and fungus gnats. Actually, at this point it’s more of a question of what I DO NOT have on my plants. This is so discouraging as my jasmine plant has finally bloomed, and I believe that to be what attracted the aphids. They are fully encompassing my jasmine flowers.

This just won’t do, so I started treating. I happened to have a 3-in-one organic pest spray on hand from previous years. So naturally I used that first. It knocked some of the bugs off but it didn’t kill a single one.

Organic Spray

Organic Spray is seen here, dripping off my plant. The jasmine flowers are completely covered in bugs

Next I went out to the chicken run and grabbed some Diatomaceous Earth (DE). If you’ve heard of DE before than you know that people proclaim DE to cure absolutely any pest infestation. This dirt has received so many amazing accolades in the organic/homesteading/permaculture community that I had visions of the bugs flopping over dead on contact. So what actually happened? Well I covered my plants in dust is all. It didn’t have any impact on the pests. Well, I shouldn’t say that exactly. The impact it had on pests is that they’ve moved from on top of the leaf, where the dust is, to under the leaf, where it is not.

DE covered plants

Next up is the old rubbing alcohol, soap, water wash. This I figured had to work as you are physically removing the bugs. It does work, you do remove them. However it is incredibly time consuming and you have to continue doing it.

Cleaning off the DE

I’m brushing the DE off my plants here.

IMG_3034

Wiping the bugs off.

Neem oil is supposed to repel the creepy crawlies so I set about locating and acquiring that next. It has been applied to my jasmine plant and I will let you know if there is any real impact on the pests in my home as this was done very recently and I have nothing to report yet.

Neem oil

Ok. I admit. This was for photo purposes only. I put the Neem oil in water and sprayed in on the plants.

Sevin dust is a last ditch effort for me. I’m not even sure it will work as I used it on my peppercorn plant last winter and it almost killed the plant. If Neem oil and Sevin dust fail me I’ll simply have to throw my plants out to get rid of the nasty bugs. I’d really rather not kill my plants.

How to ripen green tomatoes

How to ripen green tomatoes

We grew approximately 100lbs of tomatoes this year. I was VERY happy. However, we don’t tend to eat raw tomatoes. I use a lot of tomato sauce, however, so when I picked all of our tomatoes before they’d ripened I had to figure out how to ripen them indoors.

Why did I pick them early, you may ask. Well, two reasons. First, the turkeys figured out how to jump the fence and were eating all the ripe ones. Secondly, our great pyr got mad at us when we went on vacation and destroyed my tomato bushes with his big furry body. /sigh

green tomatoes

I originally laid all the tomatoes out on our dinning room table. Unfortunately it took the entire table and we do eat there, so I acquired some brown paper grocery bags from my wonderful mother-in-law and started loading the tomatoes into it. My husband wanted to see which would ripen the tomatoes better, an apple or a banana. So some bags had apples and some bananas. I can now safely say apples do a better job. The banana bag still had a lot of green tomatoes in it.

yellow tomatoes

I wanted to ripen the tomatoes quickly because of space constraints and because I knew I wanted to can all of them. I didn’t want to be doing small cannings for the foreseeable future so I sped up the ripening and canned a massive batch of sauce over an entire Sunday.

herbs for sauce Prepping for sauce making sauce assistance

I used the roasted tomato sauce recipe I posted about Here.

It took about 2 weeks to get  90% of the tomatoes ripe using the bags. I did check them and remove any ripe tomatoes and put them on the table to wait. I also removed any tomatoes that were rotting at that time. I did not have that many tomatoes rot in the bags and it wasn’t a big issue for me to check them. I will use this method again in the future.

Now, I have 10% of the tomatoes left in a bag and I guess that means I have to do another canning at some point. Save me!

An unexpected opportunity

Even with my No Freeze, No Fuss, Automatic poultry waterer I was not looking forward to watering 22 ducks over the winter. Ducks are messy. I’m sure you are all shocked to learn that. So we decided we would keep 7 ducks, 6 hens and our welsh harlequin drake. I placed a Craigslist ad for the remaining 15 and was flooded with responses. I was iffy about promising the ducks to any one person. Husband and I decided a first come, first serve mentality was the best, as we’d been stood up by buyers before. However, I was contacted by a very persistent man who wanted all 15 immediately. When discussing the price he casually mentioned he’d like to do a trade. He had pigs, goats and donkeys available. Pigs, oh yes oh yes!

Now, to convince Husband that instead of getting money to help feed the other birds over the winter we should take on 2 more mouths. That went smoothly and it was arranged. While our kids were enjoying themselves at a Halloween party we loaded 15 ducks up in boxes and set off to meet up with our pigs.

duck recon

This duck was a real PITA. I’d cut slits out of an abundance of caution. We did not want anyone suffocating. There were 2-3 ducks in each box, plenty of space. This duck though, she just had to make a fuss the ENTIRE trip. She annoyed her box mate so much that she jumped ship to another box half way through the journey. I kept crawling back to shove her head down and she’d just pop right back up quacking like a lunatic. Luckily she never figured out how to escape, or we’d have had a loose crazy duck running about the vehicle. Husband would have been thrilled!

At our destination we got to pick between 3 pigs. A larger pig and 2 cute small ones. I went with the two small ones. We loaded them up in the back and set off. They were calm during the journey. Unloading them was a bit of a trick as they didn’t want to be touched. I managed it and they are happily tucked in now.

pigs home

I originally intended to keep the pigs separate from the poultry. I have 2 connecting runs, one was intended for the ducks, and had a pond, but the pond leaked and the ducks always stayed in the barn with everyone else anyway. I never bothered putting a gate up between the two runs though and so I had a pallet temporarily blocking the entrance.

The pond needed removed, it was cement. I did not want the pigs to slip down and be unable to get back up. So we spent an afternoon removing the cement. The kids helped pick up the small bits, for a price, while we broke the cement into large chunks. We were under constant turkey supervision.

My man! pond removal procedure pond removal 1 pond assistant

It is now a giant dirt hole that the pigs have no problem navigating. I’m really hoping they gley this pond for us and will be watering them in the bottom of it.

While I was slipping into the barn to turn on the electric fence (dogs kept trying to get at the pigs) a pig followed and…I figured that was fine. They show no interest in the birds and the man we got them from said his chickens go in with his pigs all the time. The pigs are happy to graze on all of the grasses and such in the poultry runs. The birds never did scratch down their runs as they were far too busy begging at the doorstep. I’m not sure how long the grasses will hold out before we have dirt runs, but I’m hoping they can last until spring.

The pigs prefer the duck area. It’s extra muddy!

pigs pigs 2

I am free feeding the pigs, as directed, but this brings about the challenge of keeping everyone else from eating the pig food. I’m mostly just waiting until butcher time when 80% of our birds will be removed.

The kids named the pigs. Son named the bigger pink one Rocker and Daughter named the small black and white pig BLT. Well she said B.L.E. but I suggested we change that to a T and she said that was good. She is desperate to pet them but the pigs are desperate to stay away from her. I hope they adjust in time to each other.

duck hut turned pig shed

I put 2 feet of hay in the duck hut turned pig shed and the pigs happily slept there their first night, buried in the hay. In fact I couldn’t find them the next morning and was freaking out about it. Thank goodness Rocker snores!

So that is the amazing story of how I turned 15 ducks into 2 pigs. I love my man!

Year 2 planting, what has survived.

It’s been a tough year for plants. We had an incredibly wet spring followed by no rain at all for months. However, that isn’t what the biggest killer of trees this year was, rabbits were.

We made bone sauce and applied it but it did not deter the rabbits at all. In fact I think I can say that every single nut tree is gone at this point. We had some almonds holding out but when I went to check yesterday, gone, super depressing. I’m not sure what to do about the rabbits now. I also saw an apple tree in the cider orchard that had clearly been lopped off by rabbits. I think I may end up opening the gate and letting the dogs in there to take care of the problem. Enjoy a slew of cider orchard photos:

cider apple Comfrey cider ocrchard flowers cider orchard flower mass of cider orchard plants let me in so I can eat those flowers! I eat rabbits, yes

Oh that dog! That turkey too……. He managed to get in once. At his body weight in clover.

Lead photographer

I had some amazing help documenting the orchard this weekend. Son was lead photographer and Daughter was official musician.

Official Musician

Other than the nut trees a lot of the trees are doing fairly well. I’d say we had 80% live. An excellent survival rate with my, minimal intervention, approach. The peach trees universally did poorly. 3/4 of them did not come out of dormancy. 1/2 the cherry trees did not come out of dormancy as well. The bushes all did poorly. I’m not exactly sure why. The Goji berry, the bush I thought would be the hardest to keep, is doing the best of all. The cranberries were doing very well and I was so happy with them but…now I can’t even see them. Were they eaten? I’m just not sure. I have requested a refund on the trees that did not come out of dormancy. If it grew and then died because of my planting method I did not request a replacement.

Dead

Dead cherry tree here.

blackberry from 2014

blackberry from 2014. It’s spreading out of both sides of the berm now. Must protect from rabbits this winter so I can get some fruit from it.

Black Locust doing amazing!

Black locust which has survived with 0 human intervention and is doing great!

IMG_2963

Go PawPaw Go!

Frustratingly one of the paw paws had a single leaf. I was so happy, it lived! Took a picture, turned my back and BAM, daughter killed it. /sigh Maybe it’ll come back?

Asparagus in Krater

I was pleasantly surprised to find asparagus growing in a few of the Kraters. It’s also interesting to see the variation among the Kraters. The deepest Krater is doing the best, the widest and shallowest has the least amount of vegetation. The Krater that has a fair amount of that black pond clay mixed in with it is doing the best of all.

Krater 2 Krater 1

Look at that difference and they are literally right next to each other.

osage orange

The osage oranges I planted are doing amazing. I’ve never watered them. We’ve done nothing to them, but they’re growing so well. I may have to get some more of them. Great natural fence and the fruit is great for livestock feed.

I still have a lot of flowers blooming and a lot of unknown things, as well as turnips and radishes doing their part in the cover crop.

unkonwn growie turnip growing as part of cover crop. Turkeys eating it.

All in all, not a bad year.

My kitchen gardens are finally ready for fall!

Preparing the Kitchen Garden for Winter

I love this pic because Son looks like the boss at a construction site.

In my previous post I discussed using straw mulch in one of my kitchen gardens over the winter to help prevent weeds and retain moisture. I intend to fence that garden still. All of the posts are in place and I just need to go out and attach the fence. However, the straw does attract a lot of garden pests so I am fine leaving it un-fenced until planting time this spring. The chickens are doing a lot of work in there right now.

The mulched garden is my largest garden. However, I also have the sunken hugel bed garden on the other side of the house. It has been completely harvested, the peppers dug up and brought inside to over winter. I thought I would try a cover crop on that garden. I had winter barley and I was excited to try Fukuoka style farming. Basically that means I was going to grow the winter barley and inter-sow my spring seeds among the maturing barley.

Why barley? It was cheap, I didn’t want to do wheat as we are surrounded by it and I thought it would be interesting to try eating it.

I broadcast sewed my barley seeds during a rain storm and was excited. At least until the next morning. The chickens, the ducks, the turkeys, the peacocks, hell, everyone. They were all eating my seeds. They ate every last one. This just will not do.

IMG_2895

So I decided to do this up right. I took the bedding from the chicken coop and spread it over the entire garden area. Then I spread compost on top of that. Fenced it off, made a gate out of Sons old crib mattress and planted the barley again. Success!

I had 2 very good assistants helping me with every step of this project. Don’t you just love the little shovels my Mother-In-Law gave them!

IMG_2899

IMG_2903

Filling up another raised bed. I put raised beds all along the east side of this garden because of sunlight requirements. Should elevate those plants so they get enough sunlight and having them on the east side prevents them from shading out the garden.

IMG_2905

Kids are spreading seed (mostly in one place as you can tell) while I finish the fence.

IMG_2914

Where there is a will, there is a way. Chickens!

IMG_2916

IMG_2918

Gate from the old mattress and pallet wood. I kind of like the wonkiness of it. It’s so unique!

I took yarn and strung it over the top to prevent my peas flying in. I was ready to plant again.

So the barley has been planted again, I’ve watered it, it’s raining now, time will tell. I’ll keep you updated on the success of this experiment!