Mini Krater Construction and Planting

Mini Krater Garden Experiment

Thanks to my bush experiment last year I decided Kraters were the way to go. Lots and lots of Kraters. So the first thing I did was make sure I was legally allowed to dig them. I am, so long as they remain under a certain size.

Digging Moving Surveying done

So the work began. We dug the initial holes with the front bucket loader.

texting and driving
Don’t text and drive. Unless you’re in the middle of a field on an excavator that has a top speed of .95 mph


Look ma, no hands!

Then I went in with our new excavator and did some ground softening/terracing work.

Of course, life is not complete without back breaking physical labor. So I went to work with the hoe refining my terraces. Then I had to add the topsoil back into the holes and hoe the terraces again.

IMG_1350 IMG_1351 IMG_1352

It’s kind of hard to tell. The one krater has a rather unique design though. You see, I originally thought I’d be able to deepend the Kraters a bit. However, the kraters were pre-dug 20′ in diameter. The excavator has a 7′ reach. I wasn’t able to get to the middle, no matter how I tried. So I didn’t try to deepen any other kraters but the one ended up with an island in the middle. I find it a perfect place to plant a paw paw.

After I put the topsoil back on I cover cropped the works.

Husband and I took a day off to plant them out.

IMG_1385 IMG_1386

IMG_1392 IMG_1389

We had just a little big to plant…………………………..

 IMG_1440 IMG_1445

The aronia berries are holding up to our hot weather nicely. The cover crop seeds are also coming up!

IMG_1442

Finito.

I’ll update pictures when we have notable growth. It’s exciting!
Sweet Potato bed

Last year, for some unknown reason, I dug a hole. Not a particularly large hole but it was in an odd place and I wasn’t sure what it was doing there. Well, I’ve fixed it finally. While digging our mini kraters we found we had a lot of sand and rock in our ground. So we moved that sand/rock mix into the hole. I then covered it with top soil and compost, planted the sweet potato starts and mulched with hay. It’s looking good!!!

IMG_1413

Here is the hole filled with the sand/rock dirt. My niece flattened it with the hoe.

IMG_1414

Here we are putting the top soil and compost on.

IMG_1409

Here is a lizard we found in the topsoil.

IMG_1415 IMG_1418 IMG_1421

Here we are haying it. Daughter was very helpful in this regard.

I can’t wait to see how successful it is.

What is going on and some updates

Wow that 2 weeks of intense work turned into a month. So here is what has been happening while I’ve been AFK.

NEW GARDEN BEDS

This is my lettuce and onion bed. Kids were “helping”.

IMG_1366

Lettuce  Sprouting

IMG_1363

Here it is finished with compost and planted.

I also have a sunken hugel bed for corn and peas. I have it surrounded by tires that are going to hold potatoes and tomatoes.

IMG_1358 IMG_1359

IMG_1306

I’m filling the tires in this pic. The pea trellis is the crib mattress from our son. Cribs, I love everything about them!

IMG_1328 IMG_1350 IMG_1356

I’ve been hard at work kratering. Here they are in the process of being terraced. Still have to put the topsoil back on.

10407642_10153345476903633_2895275440445408520_n 10421507_10153345475168633_1045196372137983033_n 11011834_10153345474888633_5213716725805927231_n 11145008_10153345475098633_1163603004273130423_n 11295653_10153345475233633_751616365727000271_n 11351244_10153345469738633_8831909966339470859_n

Here are a few kraters that I have finished and begun planting. The little tree with no label is a black locust. I have one for each krater and they are between each tree in the swales from last year.

IMG_1323 IMG_1324

We had a bit of a surprise pond. It was supposed to be another krater but it filled up with water and…well it’s still full. I went over with the excavator and tried to dig through the water holding layer but wasn’t successful. I’ll try again when I have time. I don’t really want a pond right there.

IMG_1349 IMG_1347

Thought I’d share my technique for keeping the kids entertained while I work. It didn’t work for very long before they were out in the mud, but it did work.

IMG_1314

This is our new peacock, the old one was eaten. He’s small but very pretty, not very intelligent though.

IMG_0929

Husband is making biochar here.

IMG_1378

Flowers that have arrived on their own.


There is a lot more but I’ll have to update again later.

Experimentation on the farm

We are always experimenting to see what works best for our area. Last year it was swales and berms, which have been fairly successful. This year it will be different earth works and a deeper look into our personal food systems. Below is a list of our current experiments:

  • Corn- The best way to grow it. Sunken hugel bed and corn planted in the bottom of crater gardens for wind protection. Which will do best? I suspect the wind protection will be a big boon to growing corn here, though the soil at the bottom of the craters is quite hard, so may not allow the corn to grow sufficient roots. We shall see.
  • Potatoes- I bought 4 different varieties of potatoes and I am going to plant them in 3 different ways to see what does the best. Some will be planted in our raised bed, some in the berms and some in a tire tower.
  • Bio char is going to be added to a wide variety of plantings to see if it helps.
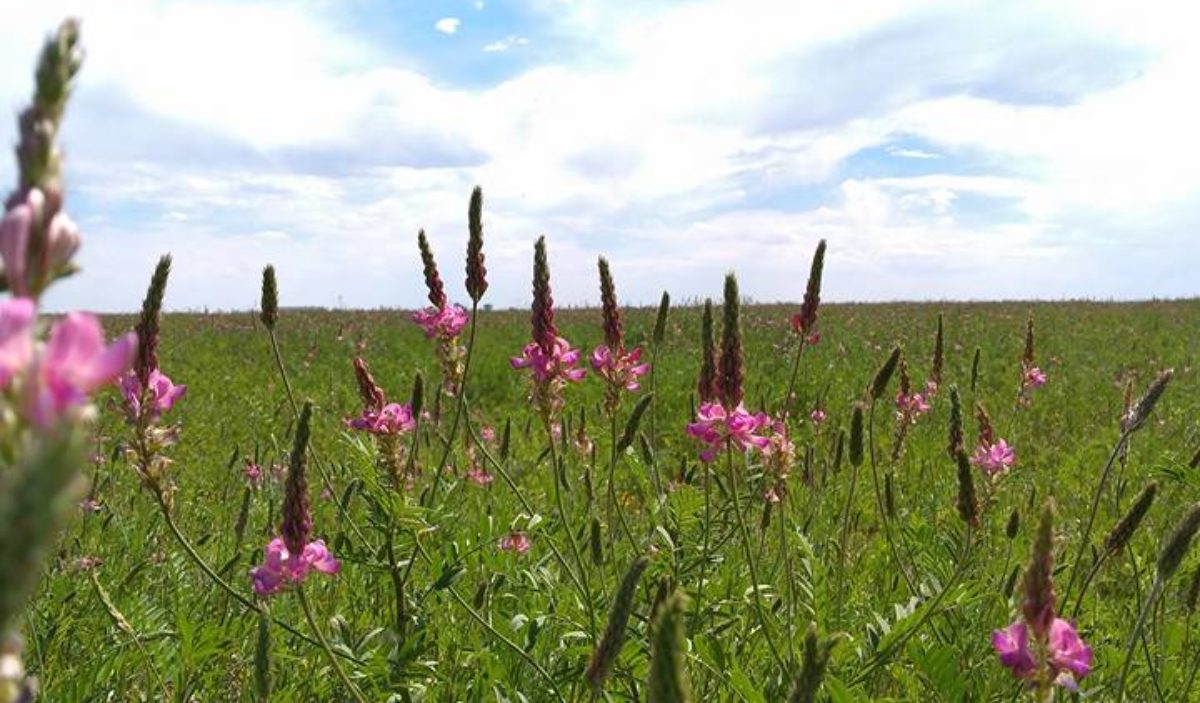
  • We are going to be testing the viability of Sainfoin as a dry land forage/hay.
  • I am going to be setting up the silvapasture but have not decided what the best planting method will be yet. Do I plant in holes for water and wind protection, but risking animal legs, or do I do swales? I don’t know. See what we come up with and how it goes.
  • Ginseng experimentation. Can it grow here? What is the proper soil/sun conditions in our area. We will be spreading 250 ginseng seeds through various rows of trees in our tree line and seeing what does best.
  • Best earth work for our environment. Now, I enjoy our swales and berms and still believe in them. However, the bush experiment from last year has me thinking basins and mini craters are going to be the absolute best way to grow things here. This years earth works will be building basins and mini craters and testing them against last years systems.

It is an exciting time for us here on the farm. Establishment has been stressful, expensive and exciting. I can’t wait to see how our plants succeed here.


New purchases and Updates on growth

We recently purchased some grape vines from a hobbyist in Colorado, 5 dormant frontenac grapes and 2 Tramenier grape vines . We also received our Gurney’s grape order of 5 Reliant grape vines. They arrived bare root and dormant and so I took the risk of putting them outdoors, heavily mulched.

IMG_0821
Furry butt here is the reason the grapes are caged. Don’t want him getting bored and chewing them up.

IMG_0820 IMG_0818

The pistachio tree is doing quite well.

Growing Pistachio Trees from Seed

The apple seeds I’ve been growing are hit and miss, but mostly doing well.

Apple Seedling

IMG_0810

The lone locust tree seedling I have is growing slowly, but growing.

Locust Seedling

My tomato seedlings look…unchanged. I’m doing something wrong, obviously, but I do not know what.


I’ve had bug issues. The bamboo brought them into the house. The grapes cuttings I’m trying to root were the worst hit. I’ve since put diatomaceous earth on all of my indoor plants. We shall see if what they say is true, and the bugs die.


Everything else is not noticeably different but doing well.

I have planted out the hill I built for the kids slide, mulched it and tried my best to keep the mulch in place. I’m hoping in a few weeks I will be able to remove the fencing.

IMG_0816

The birds enjoyed making it into the yard, usually heavily guarded by dogs. The ducks took the most advantage, though a few chickens came in. We had to escort everyone out before dinner, so the dogs could go back out. This gave the kids an opportunity to pet a chicken.

IMG_0823 IMG_0836 IMG_0841 IMG_0843 IMG_0849 IMG_0853 IMG_0860

Yesterday we also brought home a new peacock, to replace the one that was killed by the dogs. He’s an india blue black shoulder. He had some broken feathers in transit but is still looking mighty fine. The kids took the opportunity, while the pea decided whether to come out of the cage or not, to pet his long tail and peak in on him.

peaking at the new boy petting the boy Unsure boy

We hope he adjusts well and that we can open the door to the barn again soon. They’ll all be locked in there until we are sure the new pea won’t fly away.

Here are a few extra, gratuitous pictures.

IMG_0805 IMG_0806 IMG_0799 IMG_0791 IMG_0788 IMG_0784 IMG_0780 IMG_0707 IMG_0699 IMG_0692

First Turkey Processing *Graphic Pics*

Turkey Processing

I have this addiction to buying birds. If they go on sale, watch out! So one year it got a bit out of hand. I bought 5 Giant White turkeys. Unfortunately only 1 lived. We named him Lucky. One of the only birds to ever be named on our property. Shortly after that we bought 9 bourbon red turkeys from a 4Her. After that I was buying food and there were broad breasted bronze turkeys on sale. I bought them all, 10 in total. Feeding time got a bit crazy!

the kid is surrounded!

We suffered some deaths. The Bourbon reds kept flying into the dog run and getting eaten by the dogs. I had one broad breasted bronze die from an unknown disorder. Otherwise they did well and grew quickly!

Gobble!

I really loved the turkeys. I just enjoyed having them around. They were funny and slow. Our Son could pet them like puppies. Just enjoyable birds. Unfortunately they were food and it was the weekend before Thanksgiving. We gave most of them away but sold a few. We invited friends over, had my parents watch our kids and got to work killing.

First we got the scalding pot ready. Our scalding pot is an extremely large tamale pot that we got at a flea market in Denver. We heat it with this Bucket Heater. This is the actual bucket heater we bought and use. It is an affiliate link. It was extremely cold the day we did this and it took some time to get the water up to temp. We finally elevated it off of our freezing cold concrete on some blocks. After that we did not need the heat gun to help. The bucket heater heated it just fine.

water check

In anticipation of this day we bought a plucker. Boy am I glad we did! Now I have hand plucked birds. It’s not bad if you are just doing 1. It is bad if you are doing more than that. It takes a large amount of time and can really make a persons fingers ache. So while this plucker was mondo expensive I’m glad we have it.

plucker

We caught the bourbon reds first. I thought it would be wise to do smallest to largest. The men were killing, scalding and plucking and I had a friend inside who was helping me gut and bag them.

hanging

We hung the birds up and slit their throats. Not pretty but effective and imo, humane.

Ivan and BBW

Here is my beautiful husband holding our large broad breasted bronze Tom. He had a processed weight of 35lbs.

plucked

Yup, that’s him.

35 lb

Doesn’t that plucker work fabulously!

“Lucky” was last. He was 60lbs live weight. Quite the bird to catch and haul.

Lucky

Took 2 men to hold him for scalding.

scalding Lucky

cooked Lucky

Took our entire oven and 1/2 a day but Lucky tasted fabulous!