A simple organizational upgrade

The item that kicked off our kitchen renovation was a simple coat rack. Simple but life changing. Our garage enters into our laundry room. We have a front door but it is literally never used, ever. Everyone comes in through the garage. We had no closet there. We had nothing in the area that would work as one either. Coats were taken off and thrown onto the dining table. I HATED it. So I ripped down a wall, planked a lot, started going crazy and made coat and shoe storage. Life changing! It’s not very nice looking though. We have a rather large variety of stuff to keep there. Farm coats, pants, gloves, boots and going out in public coats and shoes. It was getting stuffed. I was getting annoyed again. Luckily we have a wall in the laundry room that is used for nothing. The bathroom door opens onto it so you can’t store anything there without blocking the door. Anything, that is, but coats.

Since I’m TERRIBLE at discovering where studs are I simply mimicked the style of our current coat rack and cut two 2×4’s to length, stained them and screwed them up, a lot. Then the same style hooks were added with the exception of a coat rack we already had that had been falling off the wall for years and holding our ironing board. That got screwed onto the 2×4’s and is still holding our ironing board.

Took no time at all if you don’t count stain drying time. Stud 2×4’s are cheap and the hooks I’d bought were around $3. So I’d say this was one of those under $10 projects.

Ah I shouldn’t say that as I bought a bucket to hold our hats and mittens, which were out of control with everything else. That was $12.99,

Anyway, few pics. Nothing big. Well it’s pretty big for me. I like having the extra storage space. For 4 people we seem to have the clutter of 20.

Before
Before
After
After

IMG_3545 IMG_3546

Oh and in case you are wondering, kitchen is a bit different now. The living room too. That’s what happens when you whack a hole in the wall. I like whacking holes in the walls! Kids do too!!

IMG_3538 IMG_3542

3 people can knock a pretty darn big hole in the wall pretty quickly.

I rode a pig today.

I rode a pig today and I wouldn’t recommend it. Pigs are big and strong and can scream really really loud. I’m not sure who was more upset about the situation, me or the pig. The pig probably, I was decently amused I admit.

IMG_3283 - Copy

So there I was hunched over pouring 3 gallons of warm water into their rubber tub when B.L.T. shoved himself underneath me. This knocked me off balance and I landed squarely on top of his back. There was a second of frozen silence before he started screaming bloody murder and bucking as hard as a small pig can. I landed on my side with a nice view of angry pig prancing about.

B.L.T. calmed down when food was divvied out but I don’t think the turkeys we acquired the 23rd will ever recover from the trauma of it. The male did enough gobbling to make me consider putting us both out of his misery.

As for Rocker-Digger, he simply watched out of the corner of his eye as he gulped water like a pig left in the desert for months.

IMG_3282 - Copy

I am sincerely thankful for the lined Carhart overalls Husband gave me for Christmas. I was nicely protected from a rageful pig and the cold, hard ground.

Oh and as for why I’m not using my wonderful auto waterer it’s because I fear the pigs would break it. They love to drag things about and are particularly fond of things with any sort of cord.

Best ever pizza crust recipe and Wine Review: Colimoro Montepulciano D’abruzzo

Best Ever Pizza Crust

Years ago, 11 to be exact, I married my amazing husband and began my experimentation in the kitchen. I have developed a large variety of go-to recipes over the years but none surpass my amazing pizza crust recipe. I experimented with SO MANY recipes before settling on this particular one. It’s so versatile and so forgiving. Plus it didn’t need to rise in the fridge, which is great since I once forgot I had a crust rising in the fridge and it kind of became it’s own entity that took forever to clean out. I don’t remember where I discovered this recipe. I haven’t used an actual recipe in years and years. I go by look now. I have a basic recipe that I change depending on our mood. We’ve added honey and different seasonings and it’s still been an amazingly well put together crust. So, without further ado, here is the recipe:

Easy Pizza Crust

  • 2 ¼ tsps yeast
  • 1 tb sugar
  • 1 cup warm water
  • 3 tbs olive oil
  • 1 tsp salt
  • 3-5 cups flour
  • Your choice of seasonings to taste (I use Italian seasoning, paprika, garlic and onion)

            Pre-heat the oven to 420 degrees. In a medium sized bowl mix the yeast, sugar and water. Add seasonings to taste. Then add the salt and olive oil. Next add the flour until the dough pulls away from the sides of the bowl. Set aside to rise while the oven is pre-heating.

IMG_2784 IMG_2788

            When the dough has risen spray your hands with cooking oil and shape the dough as desired, add toppings and cook for 20 minutes.

IMG_2795 IMG_2798

Note: I live in high altitude. A longer cooking time may be necessary in lower altitudes. Just keep an eye on it.

Our usual toppings are pepperoni (deli pepperoni and the regular old bagged kind you find in the store), olives, onion, bell pepper, meunster cheese and mozerella cheese. The taste is sublime. Love it!

IMG_2822 IMG_2825 IMG_2832 IMG_2833 IMG_2837

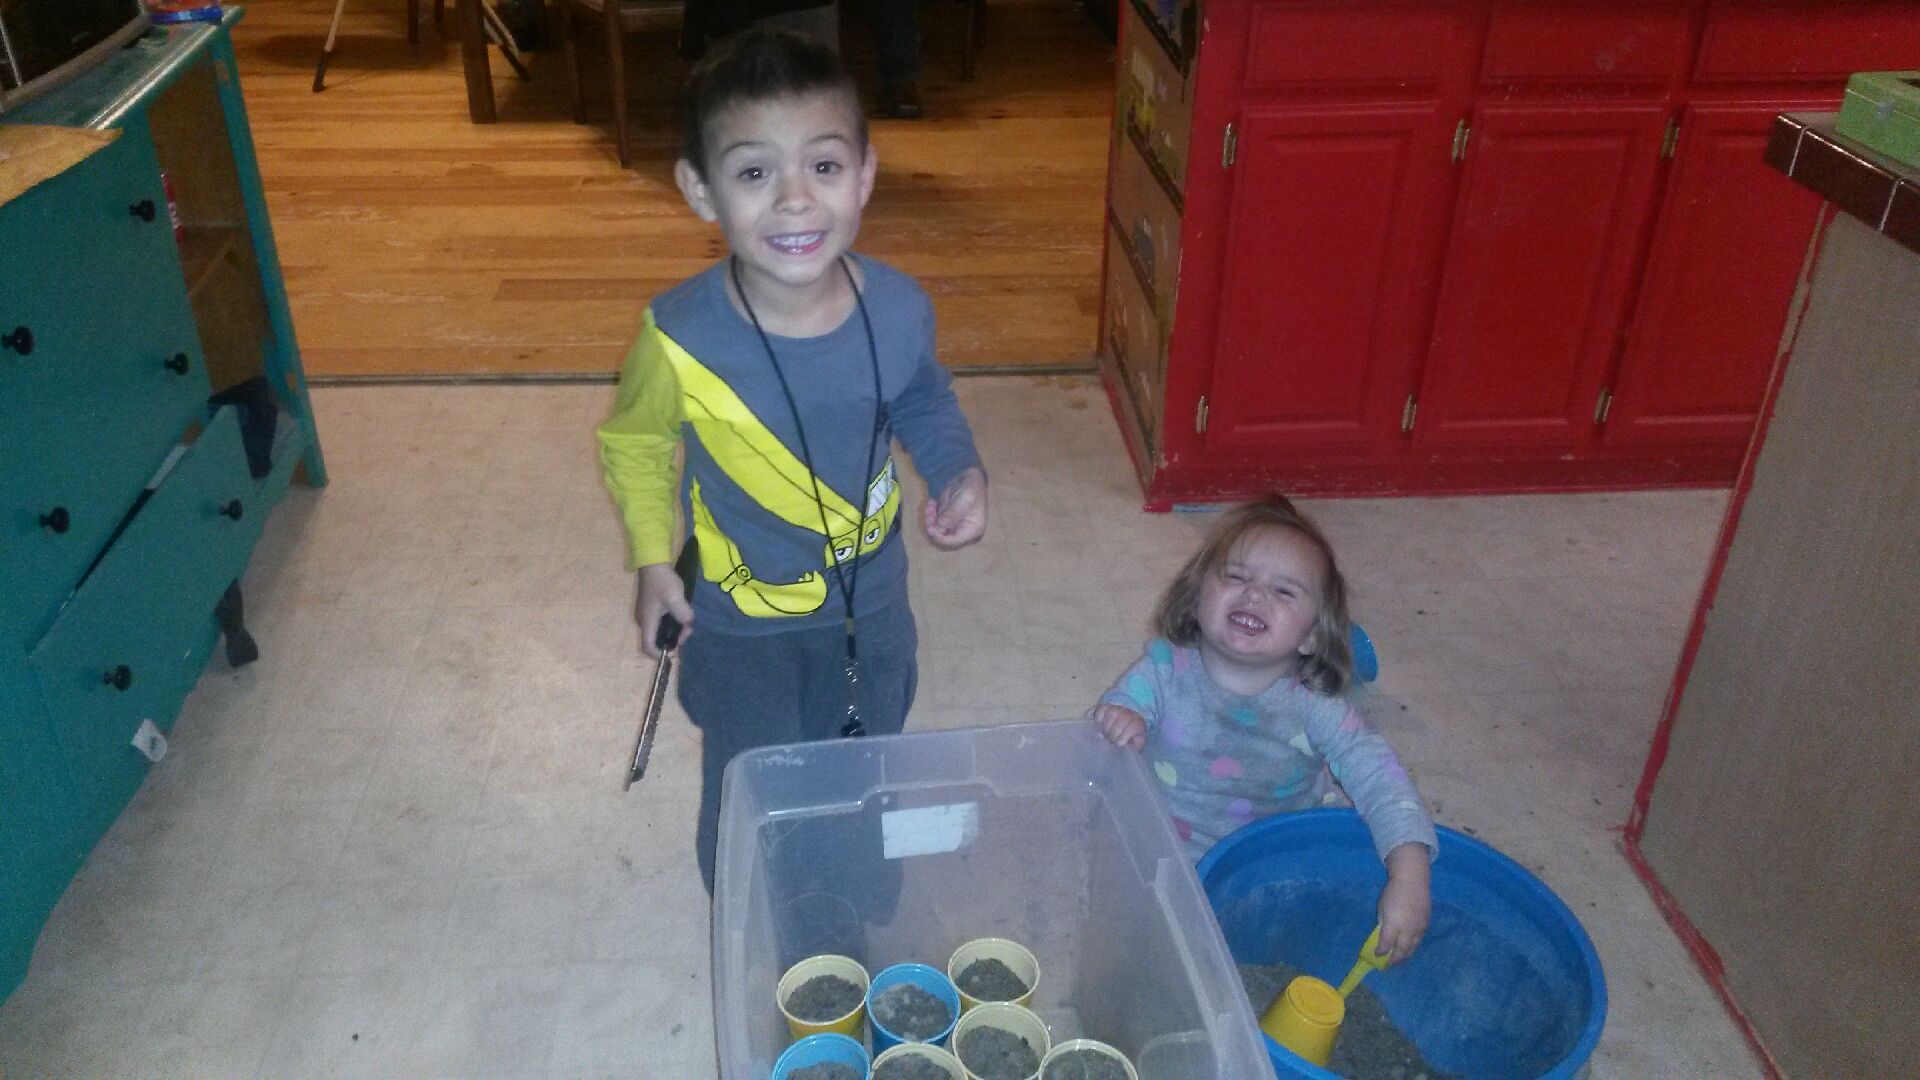
A pizza baking experience would not be complete without at least one child demanding ingredients. Daughter demanded cheese, cheese and more cheese. Then, when all the cheese was gone she moved on to demanding pepperoni. I also have a few very loyal “please drop something tasty” dogs waiting in the wings.

Please ma'am, can I have some more?

Now, I usually just use a plain pizza sauce, no seasonings, on top. I figure the crust is seasoned well enough it doesn’t need added flavor. However, we had an amazing tomato harvest this year which has led to a LOT of canning. So, we made our own pizza sauce while the dough was rising. It was pretty amazing. I am going to share that recipe next week.

We usually sample a wine on Friday nights. It’s an enjoyable, relaxing time for us as a couple. But…I really wanted to fine a great wine to go with our pizza. So off to the liqour store where I asked the amazing wine guy what wine would go best with pizza.

IMG_2840

That is how we ended up with this wine:

                   Colimoro Montepulciano D’abruzzo

Description: [from the wine makers website] Colimoro Montepulciano d’Abruzzo is bursting with aromas of dried cherries accented by a hint of spice. Medium in body, this is a fruit-forward wine balanced by moderate acidity and soft tannins. Aged in large Slavonian oak casks for 6 months, this is an easy-drinking wine best enjoyed young with everyday meals.

The back of the bottle explicitly says it pairs well with pizza.

IMG_2838

Wine Review:

This wine has a really strong flavor in my opinion. It has a nice scent, very “winey” for lack of a better term. It is rather dry, and thus, bitter, but not bad. I enjoyed my first few sips. However, even though it is specifically to be paired with pizza and pasta I thought it over powered every flavor. We tried this first with the pizza and again, later, with some home made spaghetti. Still, too strong.

I did start out thinking this wine was pretty great. I had a few sips before I started eating and thought it had a pleasant flavor and that it was going to be a “whole bottle” kind of wine tasting. It wasn’t. I just had the one glass. I like to taste my pizza and this just didn’t afford me that luxury. Also, I felt it grew more bitter when paired with the food. So I had my 1 glass and was done, both times we tried this wine.

I think I’m going to find a nice chianti and try that with the pizza.

Growing Fruit Trees From Seed

Growing Fruit Trees From Seed

Life is tough in my household. You can’t eat anything without my demands following you. Such is the life for kids who like apples. I love buying them apples but they had best not throw that apple core away. I require the seeds from it first! Plus, the chickens like the cores so they’d best not throw them away regardless.

Cold Stratifying Fruit Seeds

Apple seeds need stratified before they will germinate. I cold stratify my seeds in the refrigerator until they have just barely sprouted. Ok, not completely true. I once forgot I had seeds in there and they were leafed out before I planted them. They did not make it. Best to get them when they have just barely started.

A forgotten apple seed, leafed out in fridge and finally planted.

Whoo that picture is bad. I need a better camera. Anyway, you can barely see the leaves there. I believe these were fuji apple seeds and my very first stratification attempt. I remember they exist a lot better now!

So what I do is easy. I  take out the seeds, put them on a wet paper towel and then put them into a cup that I have labeled with the name of the apple I took them from. I have all the cups stacked and put in a ziploc baggie. This is all kept in the veggie drawer of my refrigerator. Every once in awhile I take them out and check to see if any have sprouted.

20150302_205729 20150302_205619 20150302_205307 20150302_205132

If not, I put them back in the fridge. If they have I plant them in a plastic cup.

I planted 8 germinated apple seeds a week ago and today they look like this:

Growing quite well!

20150312_213159

Now I am also trying to grow rootstock from crab apples I found on a tree in town. The same basic process as regular apples except harvesting these seeds requires more work.

OLYMPUS DIGITAL CAMERA OLYMPUS DIGITAL CAMERA OLYMPUS DIGITAL CAMERA OLYMPUS DIGITAL CAMERA

So far none of them have germinated. They had been dried up hanging on the tree for most of the winter so we shall see what happens.

I also collected various locust seed pods on my daily walks with my parents. We all take our lunch break and walk. They have become quite used to my odd veering off and shoving of various debri into my coat pockets.

To germinate the locust seeds I simply put them in a small “greenhouse” like container with a bit of soil.

OLYMPUS DIGITAL CAMERA

I have germinated many, many seeds this way. It also works. This container has seen many gardens!

The locust seeds did not need to be cold stratified and germinated in just a few days. I have 2 surviving seedlings that are growing quite happily in a windowsill right now.

I believe I only have a few survivors as the seeds had also been collected from the ground in the middle of winter. I did not pre-think most of these projects.

Gardening in Winter- Indoors

Indoor Propagation and Seed Starting

Behold my propagation/seed starting winter garden. I have a lot going on. We only have 2 windows that get enough sunlight to grow plants. This is but 1 of them. What I have here is 2 Russian Pomegranates (black pots), lots of mint, Niagara grape cuttings being rooted, mulberry cuttings being rooted, Pineberry seeds that are hopefully growing, cold hardy kiwi that I most likely killed, tomato, Russian Almond (can’t see) and onion bulbs I was hoping to have go to seed before spring.

Now, allow me to break this process down.

Ebay, oh Ebay. I bought a ton of stuff off of Ebay. Most of them came in excellent shape as well.

20141222_141050This is a mulberry I purchased off of Ebay. I bought 3 different kinds of Mulberry. I potted this one up and stuck it in the window. It now looks like this:

OLYMPUS DIGITAL CAMERA OLYMPUS DIGITAL CAMERAIt has taken off!

So have the Russian Almond bushes I have waiting in their cereal box planters

OLYMPUS DIGITAL CAMERA OLYMPUS DIGITAL CAMERA

The grape cuttings are beginning to leaf out as well:

OLYMPUS DIGITAL CAMERA

As are some of the unrooted Mulberry cuttings I’d purchased:

OLYMPUS DIGITAL CAMERA OLYMPUS DIGITAL CAMERA

As you can see I have them in a sort of mini greenhouse. It is working just fine!

I haven’t taken any other pictures of my pomegranates. They have not done anything noteworthy since I got them.

I bought all of these things in mass, at once. So naturally they all arrived in the mail at the same time. This meant I had a busy evening ahead of me. Thankfully I have some very happy helpers.

20141222_184909 20141222_184654 20141222_184850 20141222_184835 20141222_184825 20141222_184703

Daughter is busily throwing dirt about, and occasionally getting it into a cup, while son is scarifying the hazelnut seeds for me.

20141222_184818 20141222_184843

Here they are. Pre-scarifying and then planted in their mini greenhouse, ready to go outside for stratification. They are outdoors now, placed in a new mini greenhouse as I broke the last one. I didn’t see any change in them. I’m hoping at least a few of them germinate. Who knows. I have a few grape seeds in there as well. I realize grape is said to be terrible to get from seed but I’m trying anyway as seen here:

20141222_184901

I also bought some bamboo. It arrived very well packaged. And is doing quite well situated in our other available window. The great pyr tolerates many things, odd plants stuck in his food dish are just part of the package.

OLYMPUS DIGITAL CAMERA OLYMPUS DIGITAL CAMERA OLYMPUS DIGITAL CAMERA OLYMPUS DIGITAL CAMERA

Here are a few pics of the mint I’m propagating. We have a lot of bare land so I have no problem sporadically planting mint about and seeing what happens.

OLYMPUS DIGITAL CAMERA OLYMPUS DIGITAL CAMERA OLYMPUS DIGITAL CAMERA OLYMPUS DIGITAL CAMERA OLYMPUS DIGITAL CAMERA

Now for some of my odder projects. I get throw away produce from a local grocery store for my poultry. Whenever I’m sorting through and find something good I always try to see if I can save it. These carrots are part of that. They are organic carrots and I’m hoping to allow them to go to seed. They are doing marvelously. I started them in wet paper towels and when I saw enough roots I planted them into cups. I think I’ll just leave them in the cups now. I did the same with some onions. The onions are less pleased with my treatment though. I don’t know that I’ll get anything from them.

OLYMPUS DIGITAL CAMERA OLYMPUS DIGITAL CAMERA OLYMPUS DIGITAL CAMERA OLYMPUS DIGITAL CAMERA OLYMPUS DIGITAL CAMERA OLYMPUS DIGITAL CAMERA

Some thyme that was also a grocery store save.

OLYMPUS DIGITAL CAMERA

I also made my own rooting hormone from willow this year.

Make your own rooting hormone

I will share my secret. I cut up willow, put it in a used Starbucks drink jar with water and then forgot it. Voila!

OLYMPUS DIGITAL CAMERA

Quick look at my tomato seedlings. Just milk jugs with toilet paper rolls. They are doing well so far!

Stay tuned for my tree seed post and my outdoor winter gardening post. This just got too long to include anything else.

Blue’s first tail display

Blue has grown a mighty fine train. This weekend was the first time I’ve seen him display it. I had to take the pictures from inside the house. I didn’t want to spook him off. Still, marvelous!

Oh, but the ladies were not impressed.

11006395_10153086147848633_4681199706651190539_n

This is our front lawn. I had swept a bunch of cat food out onto it and the peas have been busy hunting it out.

11001776_10153086147943633_9068131038553450497_n

10991409_10153086148368633_5317658967477542400_n

10996364_10153086148613633_735669925272559645_n

10991252_10153086148878633_3112515180416236048_n


Blue kept trying to threaten this rooster but the rooster was unimpressed. Blue needn’t waste his time. This rooster is very young still but I have a feeling we will be forced to eat him. He’s a bit….too friendly with people. I think he’ll get mean.10968577_10153086148178633_7663423407784535405_n

10991177_10153086148683633_1776524947117731158_n10891435_10153086148093633_8239308709084955392_n 10649583_10153086148443633_4324981849162458213_n 10151822_10153086148563633_2107380748722956973_n 1922388_10153086148773633_8523043060368636234_nI’ve raised these peas since they were 6 weeks old. I’ve lost 2 but the remaining 3 are marvelous!

Here is a baby pic.

Peachicks