My kitchen gardens are finally ready for fall!

Preparing the Kitchen Garden for Winter

I love this pic because Son looks like the boss at a construction site.

In my previous post I discussed using straw mulch in one of my kitchen gardens over the winter to help prevent weeds and retain moisture. I intend to fence that garden still. All of the posts are in place and I just need to go out and attach the fence. However, the straw does attract a lot of garden pests so I am fine leaving it un-fenced until planting time this spring. The chickens are doing a lot of work in there right now.

The mulched garden is my largest garden. However, I also have the sunken hugel bed garden on the other side of the house. It has been completely harvested, the peppers dug up and brought inside to over winter. I thought I would try a cover crop on that garden. I had winter barley and I was excited to try Fukuoka style farming. Basically that means I was going to grow the winter barley and inter-sow my spring seeds among the maturing barley.

Why barley? It was cheap, I didn’t want to do wheat as we are surrounded by it and I thought it would be interesting to try eating it.

I broadcast sewed my barley seeds during a rain storm and was excited. At least until the next morning. The chickens, the ducks, the turkeys, the peacocks, hell, everyone. They were all eating my seeds. They ate every last one. This just will not do.

IMG_2895

So I decided to do this up right. I took the bedding from the chicken coop and spread it over the entire garden area. Then I spread compost on top of that. Fenced it off, made a gate out of Sons old crib mattress and planted the barley again. Success!

I had 2 very good assistants helping me with every step of this project. Don’t you just love the little shovels my Mother-In-Law gave them!

IMG_2899

IMG_2903

Filling up another raised bed. I put raised beds all along the east side of this garden because of sunlight requirements. Should elevate those plants so they get enough sunlight and having them on the east side prevents them from shading out the garden.

IMG_2905

Kids are spreading seed (mostly in one place as you can tell) while I finish the fence.

IMG_2914

Where there is a will, there is a way. Chickens!

IMG_2916

IMG_2918

Gate from the old mattress and pallet wood. I kind of like the wonkiness of it. It’s so unique!

I took yarn and strung it over the top to prevent my peas flying in. I was ready to plant again.

So the barley has been planted again, I’ve watered it, it’s raining now, time will tell. I’ll keep you updated on the success of this experiment!
My review of three potato gardening methods

Best Way to Grow Potatoes

I have finally completed the experiment. The potato tires were the last to be harvested and I am ready to give a review of the various methods I used. I did not do a lot of the container methods as I am terrible at remembering to water and we live in an arid region. I did not think they’d survive my climate and neglect in a container.

Raised bed and Straw

The first method I used was simply placing the potatoes on top of the soil of a raised bed and covering them with straw. Super simple. Good yields. Easy to harvest as well since they did not go very deep in the soil. My only issue with this was that the poultry liked to dig them up.

Tire potato tower planting

Potato tower being planted.

The second method was a potato tower made of tires. I only had it 2 tires high and perhaps I waited too long to put the second tire on. There were no potatoes in the second tire. Yields were less with this method than with the straw method. Also, it was dangerous. While I know the spiders were doing me a great service by eating pests I had quite a fright when I flipped the first tire and found a black widow living between the 2 tires. I found quite a few in my harvest. I won’t do this method again. It’s too labor intensive, yields were not great and it’s a risk to my health.

IMG_2854

IMG_2856

The third was perhaps the laziest method of them all since I never watered them, ever. I simply buried the seed potatoes in the berms. They did grow. They even produced a few seeds. However, I believe most of them to have been eaten by ground animals. That’s ok by me. Rather they eat the potatoes than my tree roots.

It’s time to begin gardening inside again.

IMG_2861

Sons dresser is in use again as plant habitat. I dug up 4 pepper plants that I’s started late in the season. Some of them were setting fruit but there was no way they were going to survive the dropping temperatures to ripen. Inside they came. Also inside now is the ginger plant and jasmine plant that had hung out on the back porch all summer. They really enjoyed the summer weather and have grown nicely. Do you like the giant web in that window? We have 2 such spiders in separate windows doing a good job of collecting pests for us. We haven’t bothered them. We like spiders.

IMG_2863

Thai hot pepper anyone?

I am having an issue with the black peppercorn plant still. It has been infested with these little white eggs for some time. I never see a bug, just the eggs. I keep doing stuff to get rid of them but so far, no luck. No real ID on what it is either. I suspect spider mites but I’m not sure.

IMG_2852 IMG_2859

I am quitting my day job in December. I have plans to alter our unfinished basement to become my new plant nursery. So stay tuned for that!


Home Made Spaghetti Sauce- my first time

It has been an amazing tomato harvest for us this year. I’m very happy. I am also learning how to preserve tomatoes now. Sauce, salsa and diced tomatoes are what I’m after. I haven’t canned before though, well aside from the salsa. I’d never made my own spaghetti sauce and so I took to the internet to figure it out. Two recipes really stood out to me. This one and This one. The first is a Sicilian style sauce with wine. As you may know, we love wine. I grabbed my favorite Merlot, as can be seen in This post, for it. The other was slow roasted in the oven. I had to try both. So I divided my tomatoes up and set to work. I mostly followed both recipes. I must admit, I have a hard time following recipes to the T. I have my own style.

First I went out and hunted down all the necessary herbs from the yard.

IMG_2742

Oregano

IMG_2743

Basil

IMG_2744

Sage and Thyme

IMG_2746

Washing and shredding herbs

IMG_2747

Washed and shredded herbs

Next, I chopped my onions and garlic, for both versions. The kids were eager to help, as usual. Son was very excited about helping “skin” the garlic. Daughter washed the tomatoes. For the record, while I love the kids helping I do rewash stuff. Their version of washing is just spraying water all over my kitchen. GAH!

IMG_2750 IMG_2752 IMG_2753 IMG_2754 IMG_2755 IMG_2756

I added bell pepper to the roasted tomato sauce. I happen to love roasted bell peppers so it was an obvious addition for me!

And now, the tomatoes! I did not skin any of them. I was going to blend them anyway and was cool with the skin remaining. I harvested the seeds from the best tomatoes while I was cutting them up for the sauce. I simply put them in the strainer, washed them off and then left them to dry in a labeled coffee filter.

IMG_2759

IMG_2761

IMG_2767

I did enjoy a good glass of Merlot, while also adding some Merlot to the Sicilian sauce. If you are interested in our review of this Merlot see Here.

IMG_2760

I cooked the Sicilian sauce down a bit and then crushed everything up a bit. Well, the kids did, enthusiastically.

IMG_2764

While the sauces were cooking low and slow the kids and I made fish and chips for dinner. Turns out Son is all talk about his love for fish as he refused to eat any until I convinced him it was chicken. This in spite of him helping me with the fish…. I did tell him after he’d eaten that it was fish. He’s caught onto me and when he asked if the pork I offered him at a later meal was chicken I asked him if he’d prefer I lie. He stated yes and ate the pork. It’s all good.

IMG_2766

IMG_2765

IMG_2769

As an aside, doesn’t my kitchen remodel look amazing so far!

IMG_2771

The kids were in bed before the sauces were ready to be blended and jarred. That was fine with me. I didn’t want to have to explain 9 million times to Son that I would not allow him to put the jars in the hot water because he’d likely burn his arm off. Oh how many times I’ve had that conversation already. If you are wondering why I simply don’t let him learn the hard way, I have. He just likes to ask the same question over and over and over and over and…………………..

So I added some lemon juice and sugar, popped the sauces in the blender, jarred them and put them in the hot water until they were ready. A LONG process but a satisfying one. The sauce from both is amazing!


First tomatoes and peppers- delicious salsa

There is so much beauty in a harvest. The colors, the smells, the flavors. My kitchen is a cacophony of natures amazing bounty. Peppers, tomatoes and herbs right now. I’m loving my harvest this year. The tomatoes, oh the tomatoes. So beautiful and so plentiful. The peppers have amazed me with their size, quantity and flavor. This is a partial tomato harvest and a full pepper harvest. I asked Daughter to pick the red peppers and she just went to town grabbing them all so…..I let her. I picked only the ripe tomatoes for this.  So many tomatoes!

IMG_2675

I can’t even name the varieties of tomatoes I have grown this year. Many were given to me unlabeled. The seeds I grew are San Marzano and Black Krim.

The kitchen is making me SOOO happy right now. The sink has been a godsend in prepping produce for canning. I don’t think I could have done much of this in the old kitchen. I certainly couldn’t fill up the necessary pot. I’ve had colanders full of produce being washed in the sink by my little angels who seem as excited by this process as I am.

I did look up salsa recipes and I did base my salsa off of a particular recipe, however, I didn’t follow the recipe practically at all. I’ve simply never canned my own salsa before and I was looking for a guide for doing it.

IMG_2674

So, here are my peppers and onions getting washed Delicious!

IMG_2687

The tomatoes receiving the same treatment.

So I removed the skin using the hot water method. I did it incorrectly though. Some of the tomatoes were perfect, as below. Some were left too long and were mushy. Those tomatoes I hand chopped, the nice ones were run through the food processor.

IMG_2695

IMG_2694

Chopping over cooked tomatoes here.

IMG_2699

Salsa! It’s a bit watery but I’m ok with that. Cilantro was an easy grow for me so I had a plethora of that.

IMG_2700

Hot water bath canning. I did not have the correct tools yet. My mother had a bunch of canning stuff and I did retrieve it from her later. The gloves worked great for this though. You can find them Here. Husband bought the gloves for our pig roast (see here) but they have been hanging out with my pot holders and I enjoy them quite a bit in the kitchen.

IMG_2701

IMG_2702

As for taste, perfect. Not too hot, very flavorful. I’m very happy with how this worked out.


This post contains an affiliate link.

Adjusting Driveway Water Catchment

IMG_2722

If you’ve been following our progress you are probably aware of our driveway problems. Our driveway turns into a flooded, muddy, impassable mess every time a drop of water hits it. We get so much standing water on our driveway the ducks move out and swim on it.

Last year we used the tractor blade to make a ditch on one side of the driveway and dug drainage ponds in 2 spots on our driveway. One very large one to catch garage water and one after our treeline to drain the driveway. Neither of these were large enough to do what they needed to do this spring. Of course, it was an unusually wet spring. Still, we need to prep for more water!

IMG_2739

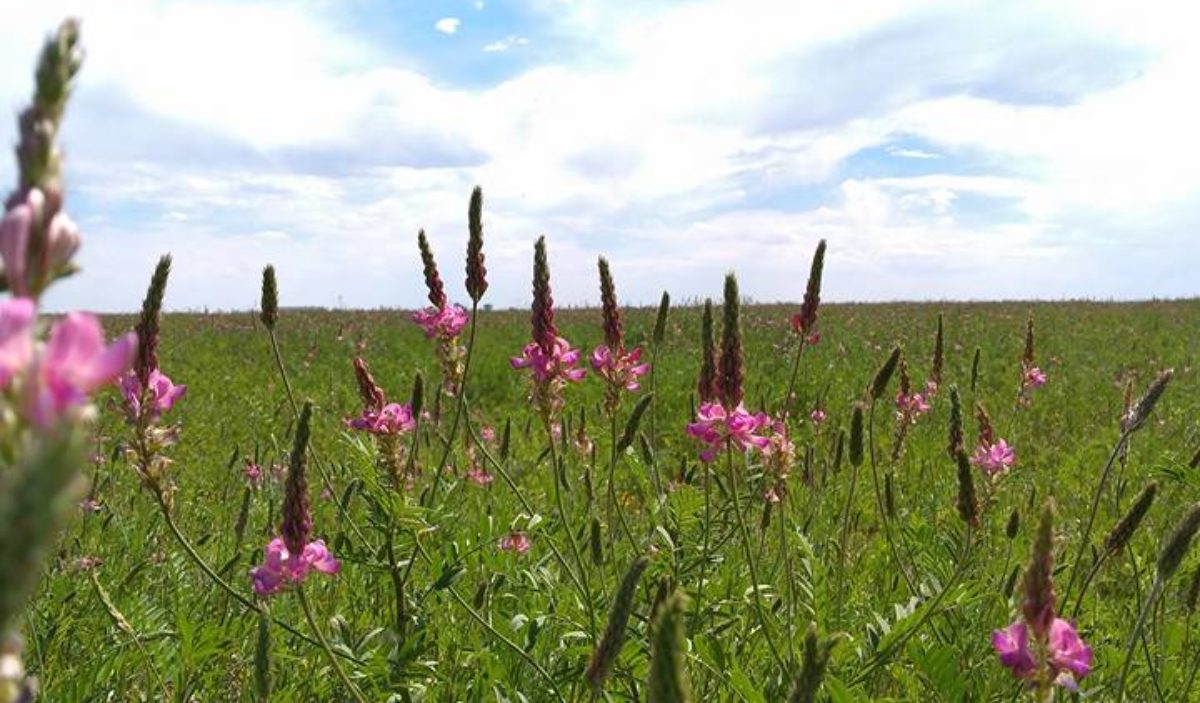
Thankfully we have our new, beautiful excavator to put to work. Husband (and the stray kid) has been busy ditching on both sides of the driveway and deepening the tree line drainage pond. That pond is quite deep now and I was quite happy as I really really needed to plant the bamboo I’d bought during the winter. I really didn’t want to bring it into the house for another winter and it had been hanging out in a pot on the porch all year. So I used the excavator to dig a largish hole, filled it with biochar and compost and planted the bamboo. Then I took a seed mix (dry land pasture grass, alfalfa, sainfoin, nitro-radish and winter barley) and spread it out in the new ditches and around the bamboo and “pond”. I’m hoping this helps stabilize it from erosion. The bamboo should also help with erosion.

IMG_2735

The kids have been loving this deep hole and I can’t seem to stop them from grabbing their shovels and heading out to adventure in it. A close eye will have to be kept on the little stinkers come rainfall.

IMG_2723

IMG_2717
My lovely car is such a farm truck!

If we need to expand this pond we will expand it northward. The trenches are quite deep and I’m excited to see how they work. All dirt from the trenches was put onto the driveway.


So, we shall see.