A simple organizational upgrade

The item that kicked off our kitchen renovation was a simple coat rack. Simple but life changing. Our garage enters into our laundry room. We have a front door but it is literally never used, ever. Everyone comes in through the garage. We had no closet there. We had nothing in the area that would work as one either. Coats were taken off and thrown onto the dining table. I HATED it. So I ripped down a wall, planked a lot, started going crazy and made coat and shoe storage. Life changing! It’s not very nice looking though. We have a rather large variety of stuff to keep there. Farm coats, pants, gloves, boots and going out in public coats and shoes. It was getting stuffed. I was getting annoyed again. Luckily we have a wall in the laundry room that is used for nothing. The bathroom door opens onto it so you can’t store anything there without blocking the door. Anything, that is, but coats.

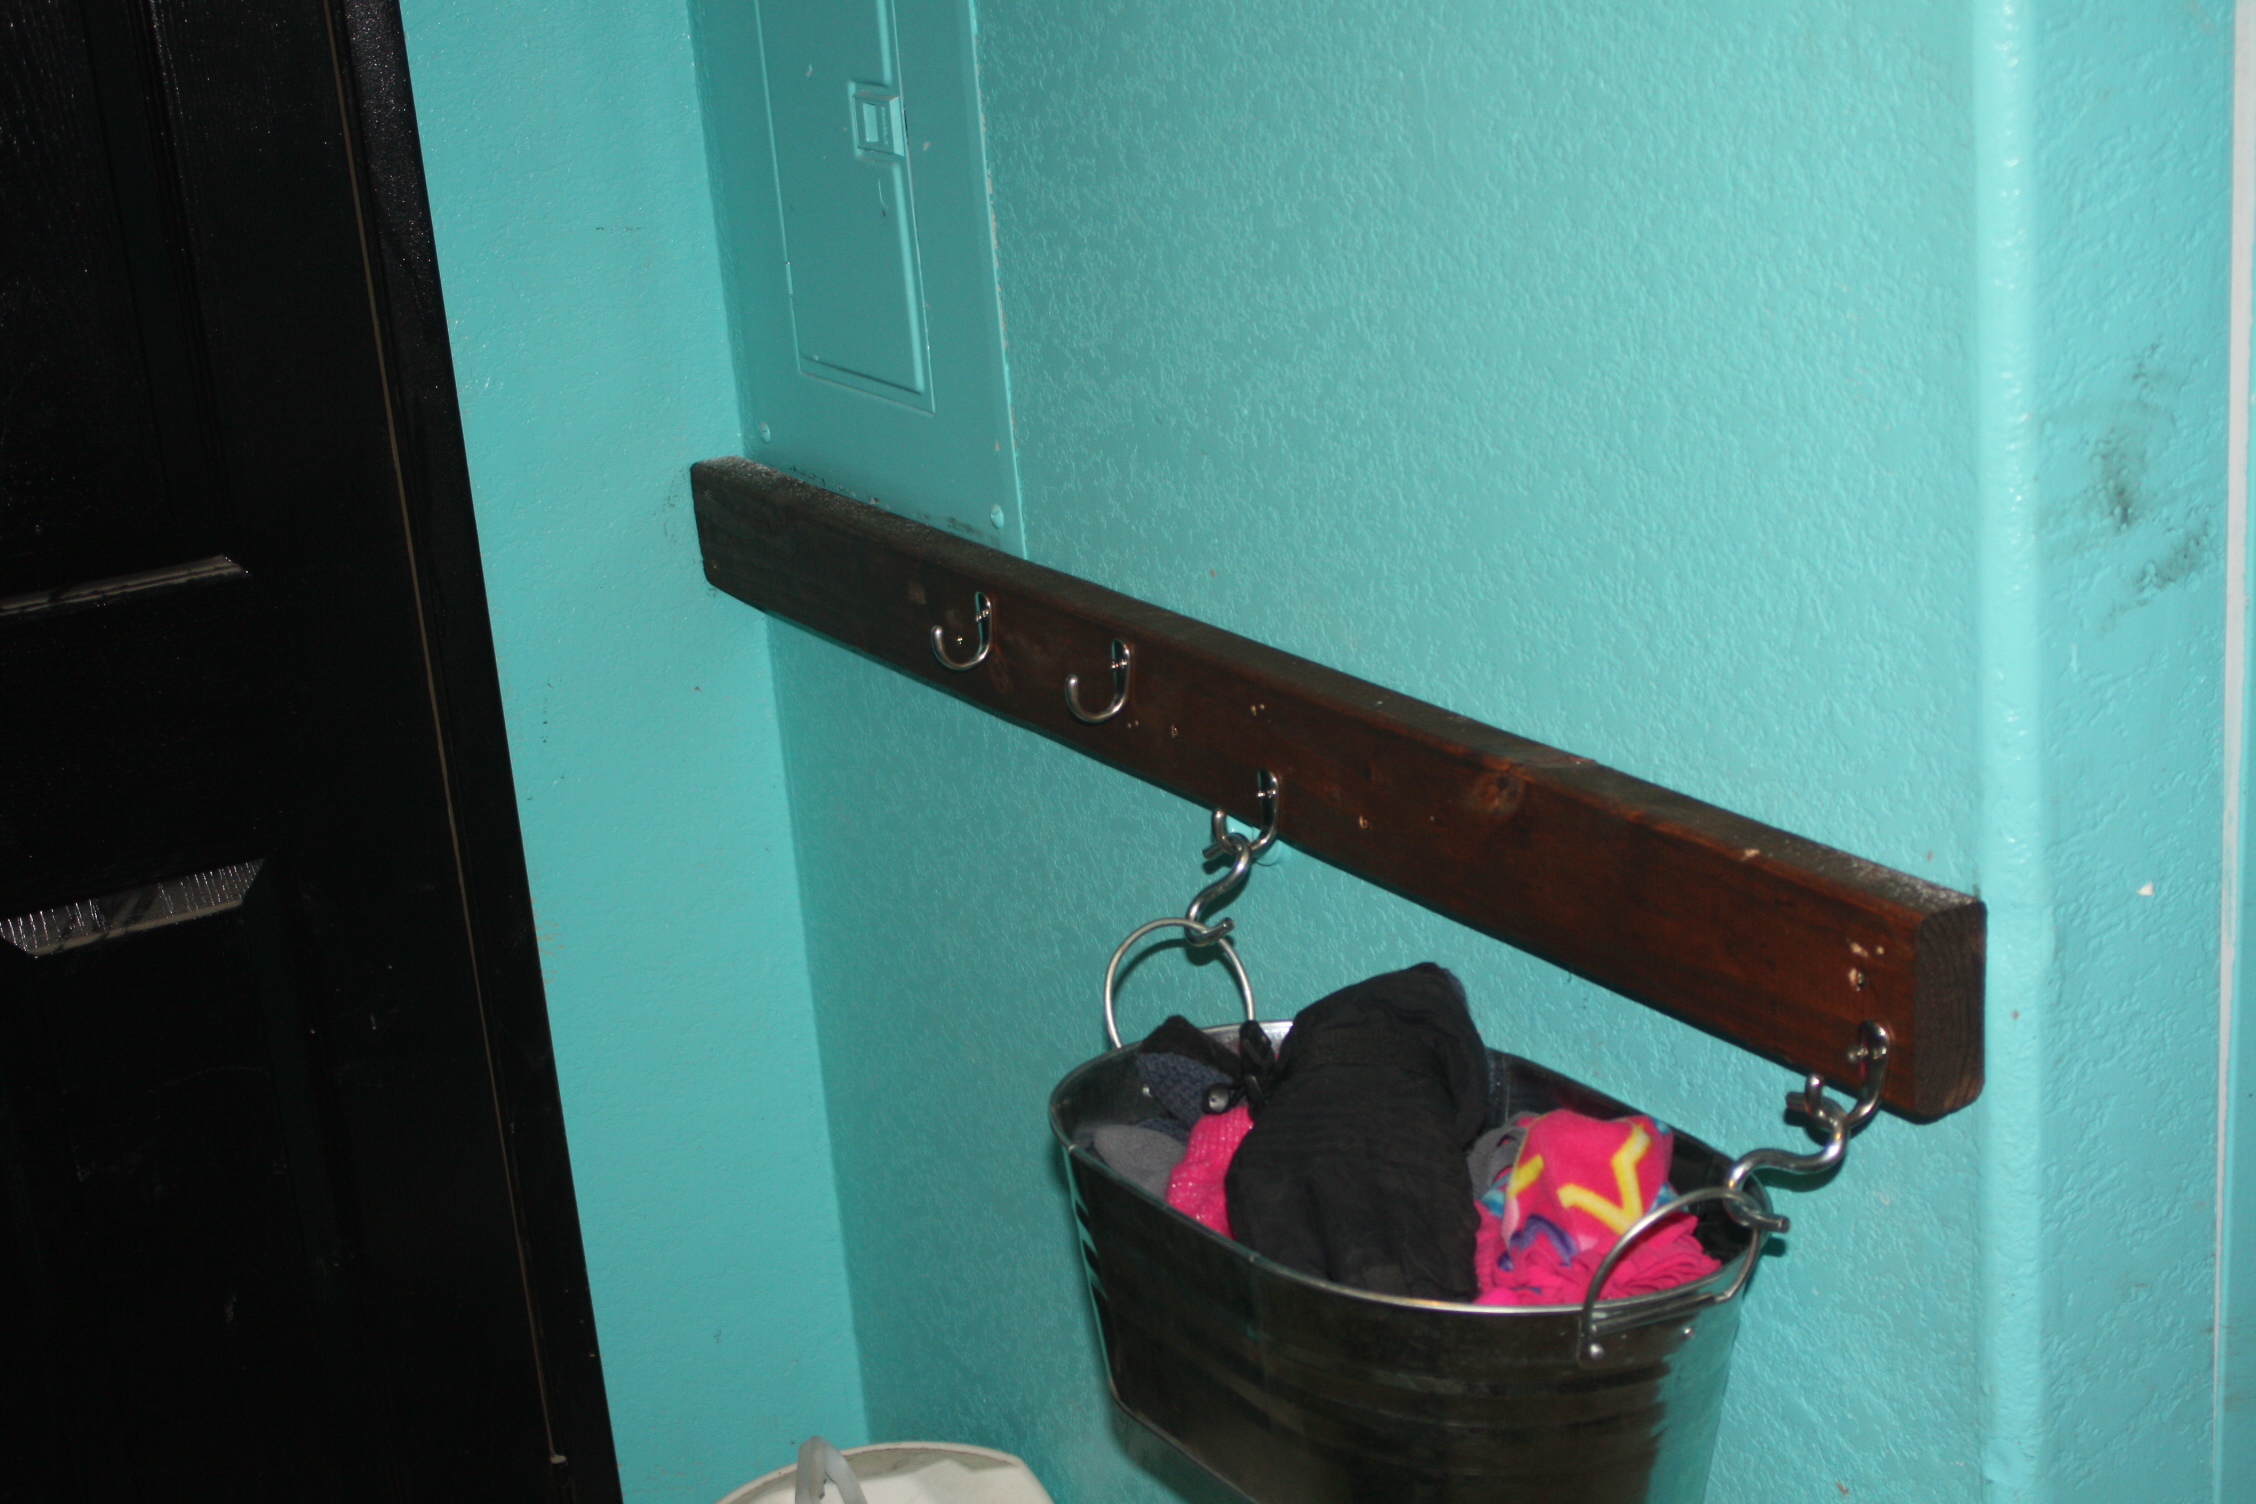
Since I’m TERRIBLE at discovering where studs are I simply mimicked the style of our current coat rack and cut two 2×4’s to length, stained them and screwed them up, a lot. Then the same style hooks were added with the exception of a coat rack we already had that had been falling off the wall for years and holding our ironing board. That got screwed onto the 2×4’s and is still holding our ironing board.

Took no time at all if you don’t count stain drying time. Stud 2×4’s are cheap and the hooks I’d bought were around $3. So I’d say this was one of those under $10 projects.

Ah I shouldn’t say that as I bought a bucket to hold our hats and mittens, which were out of control with everything else. That was $12.99,

Anyway, few pics. Nothing big. Well it’s pretty big for me. I like having the extra storage space. For 4 people we seem to have the clutter of 20.

Before
Before
After
After

IMG_3545 IMG_3546

Oh and in case you are wondering, kitchen is a bit different now. The living room too. That’s what happens when you whack a hole in the wall. I like whacking holes in the walls! Kids do too!!

IMG_3538 IMG_3542

3 people can knock a pretty darn big hole in the wall pretty quickly.

Another Kitchen Remodel Update

Stage 2 update collage

If you haven’t been keeping up you can go to these posts to see what I’ve been up to:

  1. Beginning of kitchen remodel
  2. DIY Concrete counter tops
  3. Stage 2- Removing a wall
  4. Stage 2- Update

I spent a large amount of my Saturday and Sunday completing some of the parts of the remodel I was most excited about. The new pantry was painted (though the shelves still aren’t stained as it’s been too cold to do so far). The best part is the over the fridge storage I built for all of my important kitchen bits.

I had most of my pans stuffed in a single cabinet next to the stove, my baking stone and cast iron skillet in the buffet in another room and the cutting boards stashed on top of my pot rack. It was a mess. I could hardly find anything and getting the stone and skillet were a hassle. No more! They are within reach of us tall people, in the kitchen and beautifully displayed. Of course, some of them aren’t exactly beautiful….that blue cutting board. Still, I am in LOVE!

IMG_3398

Since I built, I was obviously able to customize the different heights and widths. It is spectacular! I even had room left over for my huge serving trays.

IMG_3393

Allow me to back up though. The first thing I did, after taping, puttying and floating the new walls was add the 2×4 frame the new storage would sit on.

Then I painted, with help.

IMG_3396 IMG_3394

A very happy helper indeed!

Then I measured and cut the top shelf out.

IMG_3391

And painted some more.

The pantry is 70% complete. I still have to make doors. We are also putting a wooden fronting on the side of the wall and the front of the 2×4’s. Also, I have to stain those shelves!

IMG_3397

I love it already! Of course doors are needed as not all our food is that…photogenic.

IMG_3400

Have to build a door for the top shelf storage as well. It’s quite hideous at the moment. Terribly functional though!

IMG_3401

I also primed and texture the part of the new wall that faces in toward our formal living room. The walls are different sizes. The original interior walls of our house were made with 1 x 3’s. I used 2 x 4’s. Still, it works. I have the wall primed and ready for a decision on color. I’m hesitant as there is another wall in the formal living room that is going to be removed so I suppose I should just wait and paint the whole thing at once.

The fridge is almost ready to be moved. The water is the only hang up. I’m building a new sink and faucet for the 1/2 bath as shrinking the wall made the old sink too large. Once those are done and installed I’ll be able to turn the water on and thus have the fridge connected to water for the ice maker. May not be a big deal to some but I’m fairly certain my husband and children could not live without ice.