Home made bee feeder

I have two hives this year and I want them to make it through the winter. On advice of a local bee expert I took the boxes with honey and condensed the bees into a single box each. As such they absolutely need to be fed. I wanted to be able to feed them without having to open up the body of the hive while it’s cold out. I also want to prevent the bees from having access to the empty box where the food is to be. Being cheap, and searching the internet for various ideas, I made this up out of items we had in the garage.

Strips of wood, this is cut from our porch. I cut them into 1 foot pieces.
Excess window screen.
I stapled it around the wood long ways first.
Then I folded over the ends and stapled it. This makes it firm and helps prevent the bees climbing out the ends.
Nice, firm bee feeder.
Can hold 3 jars along the length.
AND it’s in.

Obstacle course part 1- swings

I wanted to immediately put up some swings for the kids. Give them something to keep them occupied on the property.

I bought a 4x6x12 board and 1/2 inch x 2 feet threaded rods.

I also bought the swings and the swing brackets off Amazon.

I put the board up at 10 feet because that is where we intend to have the platform for this section start.

This is where things get tricky. I left the kids with Husband and went out with the hammer drill to drill holes in the pole and put it up. Turns out I neither had the right drill nor the right drill bit. I thought using a paddle drill bit would be the best idea but boy, it’s not. I had to pull it out every few seconds to get rid of the wood chips so it wouldn’t get stuck. It took FOREVER to drill a single hole. Then it killed the drill. It got so hot drilling that hole that I had to stop and let it cool down before doing the other hole.

The next problem is hoisting the board up there alone. It’s really heavy. So I propped it up and bolted it loosely to one side. Then I put a rope around the other side and started hoisting it up for the second bolt. Now yes, it should have two bolts on each side. Drill couldn’t handle it though so I settled with one and the intent to put another in later.

I got it done though and they love the swings!

Obstacle Course/ Home Leisure Project

Covid-19 has changed a lot of things in the world. Our property can now be added to the list. Being stuck home with the kids we decided we really needed more to do. It had to be on our property because the oil drilling has made it uncomfortable to walk the road like we used to.

Really ruins the view

So Husband took the tractor out and made a path. We made some plans. Planted some flags and had the electric company out to put up 24 telephone poles along the way. We had this large pile of telephone poles we got for free from the railroad.

They got them all up quick and then we wandered the path admiring their work and dreaming.

We have two separate structures going up near each other. This pic shows husband evaluating the distance between poles for accuracy. Our measuring is on point, obviously. This set of poles will be a rope swing. The one near it is going to be a ladder climber.
Next on the path are the two poles I was most excited about- the zipline!
50 feet apart these poles will have the zipline going over the path. You can see the corner tower poles in the back there. Husband envisions a rustic lookout being built here.
On to the teepee climber. These poles will host a triangle climber structure with the middle left open for the tractor to go through.
This is the exact center of our property and will have a clubhouse tower on it that I intend to put a larger zipline up on when we put the rest of the poles up on the other half of the property.

As you can see we have a lot of plans. Expensive plans. We believe it will take years to finish all of these. This is the back part of our property. We have more poles and more acres to add on to when this half is finished.

Stay tuned because I’ve started building already.

Building a greenhouse from old windows

Nothing funner than using a staple gun!

I have been collecting windows for some time with the intention of building a greenhouse out of them. I have all the old wood windows from my office, all the windows from our house and the stray window that was given to me by this person or that person. They have all been sitting in our lean-to being broken upon occasion by activity around them. I really needed to get this greenhouse going.

Last year I was given metal roofing and that was the final piece in my greenhouse puzzle. I had always intended to build the greenhouse in a lean-to style. One wall full windows while the opposite wall was solid. Now I had all the supplies I needed (- the wood for framing it all in).

We had a lot of debate about location. I needed it to be close to a water source which led to problems as all the water sources are close to large buildings which would block the sun. I also needed to access the greenhouse fairly easily.

Building things is messy!

So, the greenhouse is in the yard. 8 feet wide, 24 feet long and 8 feet tall. The greenhouse comes in 4 feet under the county requirement for a permit. Wohoo!

Our wonderful family supplied me with gift cards to Home Depot. I calculated how much wood I needed and off we went to purchase it. Thankfully husband was with me as I had left out the need for cement to keep the entire thing from blowing over.

I could only work on the greenhouse nights and weekends so a lot of digging and planning was done in the dark.

Husband dug all the holes for the posts. Then I realized we miscalculated them and all of them had to be re-dug. We did them one hole at a time, erecting the walls in between to make sure the greenhouse was square and the posts were in the proper place. I am terrible at measuring things so it was important to do one wall at a time for this.

The back walls are simple frames. Nothing fancy. Then I made boxes out of 4 2×4’s for the sides and front walls. I laid them on the ground and began placing the windows and doors in them and framing around them. Some of the windows needed screwed in before the walls could be erected and put in place. Others could easily be stapled in after putting the walls in place. Husband had to help me a lot. Building a heavy window greenhouse while halfway through pregnancy is quite a strain.

laying windows out int he square frame
a wall ready to get lifted into place.

We kept the stairs from the front of our house. I always intended to use them as greenhouse shelving. I think they are perfect!

Roofing and siding is going to take quite awhile. It’s been windy here lately and moving metal sheeting in the wind is just a really bad/dangerous idea.

Son loved using the staple gun

The kids bopped in and out to help here and there through the process. They enjoyed digging for about 5 mins. They like using the tape measure. Daughter likes acting as building foreman and informing me how disappointed she is in the size. Son loved using the staple gun.

I’ll be sure to post again when the entire thing is completed.

Kitchen Cupboards as Chick Brooders

As with most small holdings, chicks seem to be a never ending job. In the fall we killed every single bird we had, chicken, duck and turkey. The turkeys were fated for the table anyway. The ducks and chickens got themselves into that situation on their own. You see, the chickens were eating their eggs. We couldn’t figure out who was doing it so they all were culled. The ducks were laying their eggs in the pond and only the pond. I’d see them float to the top after they’d rotted. Not what I was keeping ducks for so they were also culled. At the moment we have pigs and peacocks and that’s it. Well that was it until yesterday.

I decided we needed to be more practical. No more random chick purchases and no more allowing the hens to hatch eggs (we had one hen that could hatch out 2 nests a year). We really only need 6 chickens for our personal egg consumption. I did not want to waste money getting a rooster either. So off to the feed store to pick up 6 red sex linked chicks.

I’d been checking the feed store for them so you would think I’d have prepped the brooder beforehand. I did not. Everything was a bit dusty and needed a rinse but it took only a few minutes to prep the old kitchen island for it’s newest chicks.

The chicks seem happy!

The island is large enough that even though the heat lamp is pretty close to them they can get away from it when they are hot.

View of the outside of the island here. I removed the drawers on the top and one of the doors for ventilation. I just used molding I already had to keep everything in place. Unfortunately the kids are always pulling the top screening down so they can peak in.


The following pics are of the nonworking brooder in the barn (nonworking as the power is out).

I just modified an over the fridge cabinet by extending half of it (again with things I already had hanging around). The extension is where I put the food and water. The bottom is hardwire cloth so everything just falls through to the barn floor.

I mounted the cabinet but had to use a bit of a prop for the extension I made.


So, if you don’t have any stock tanks or other containers around, old kitchen cupboards can find new life as chick brooders.


Butcher Block Island Construction

butcher-block-island-construction

Our new island is a true thing of beauty. The kitchen is almost 100% done. All that is left is a new floor and putting base boards on all the cabinets. This is a big deal for me. I started this entire kitchen remodel so I could get a big, beautiful island the kids would be able to access better. Our old island was…gross.

img_4501

Small and oddly angled it just wasn’t that functional. If I was rolling dough on it there was no way the kids could get up and help me out.

img_4444

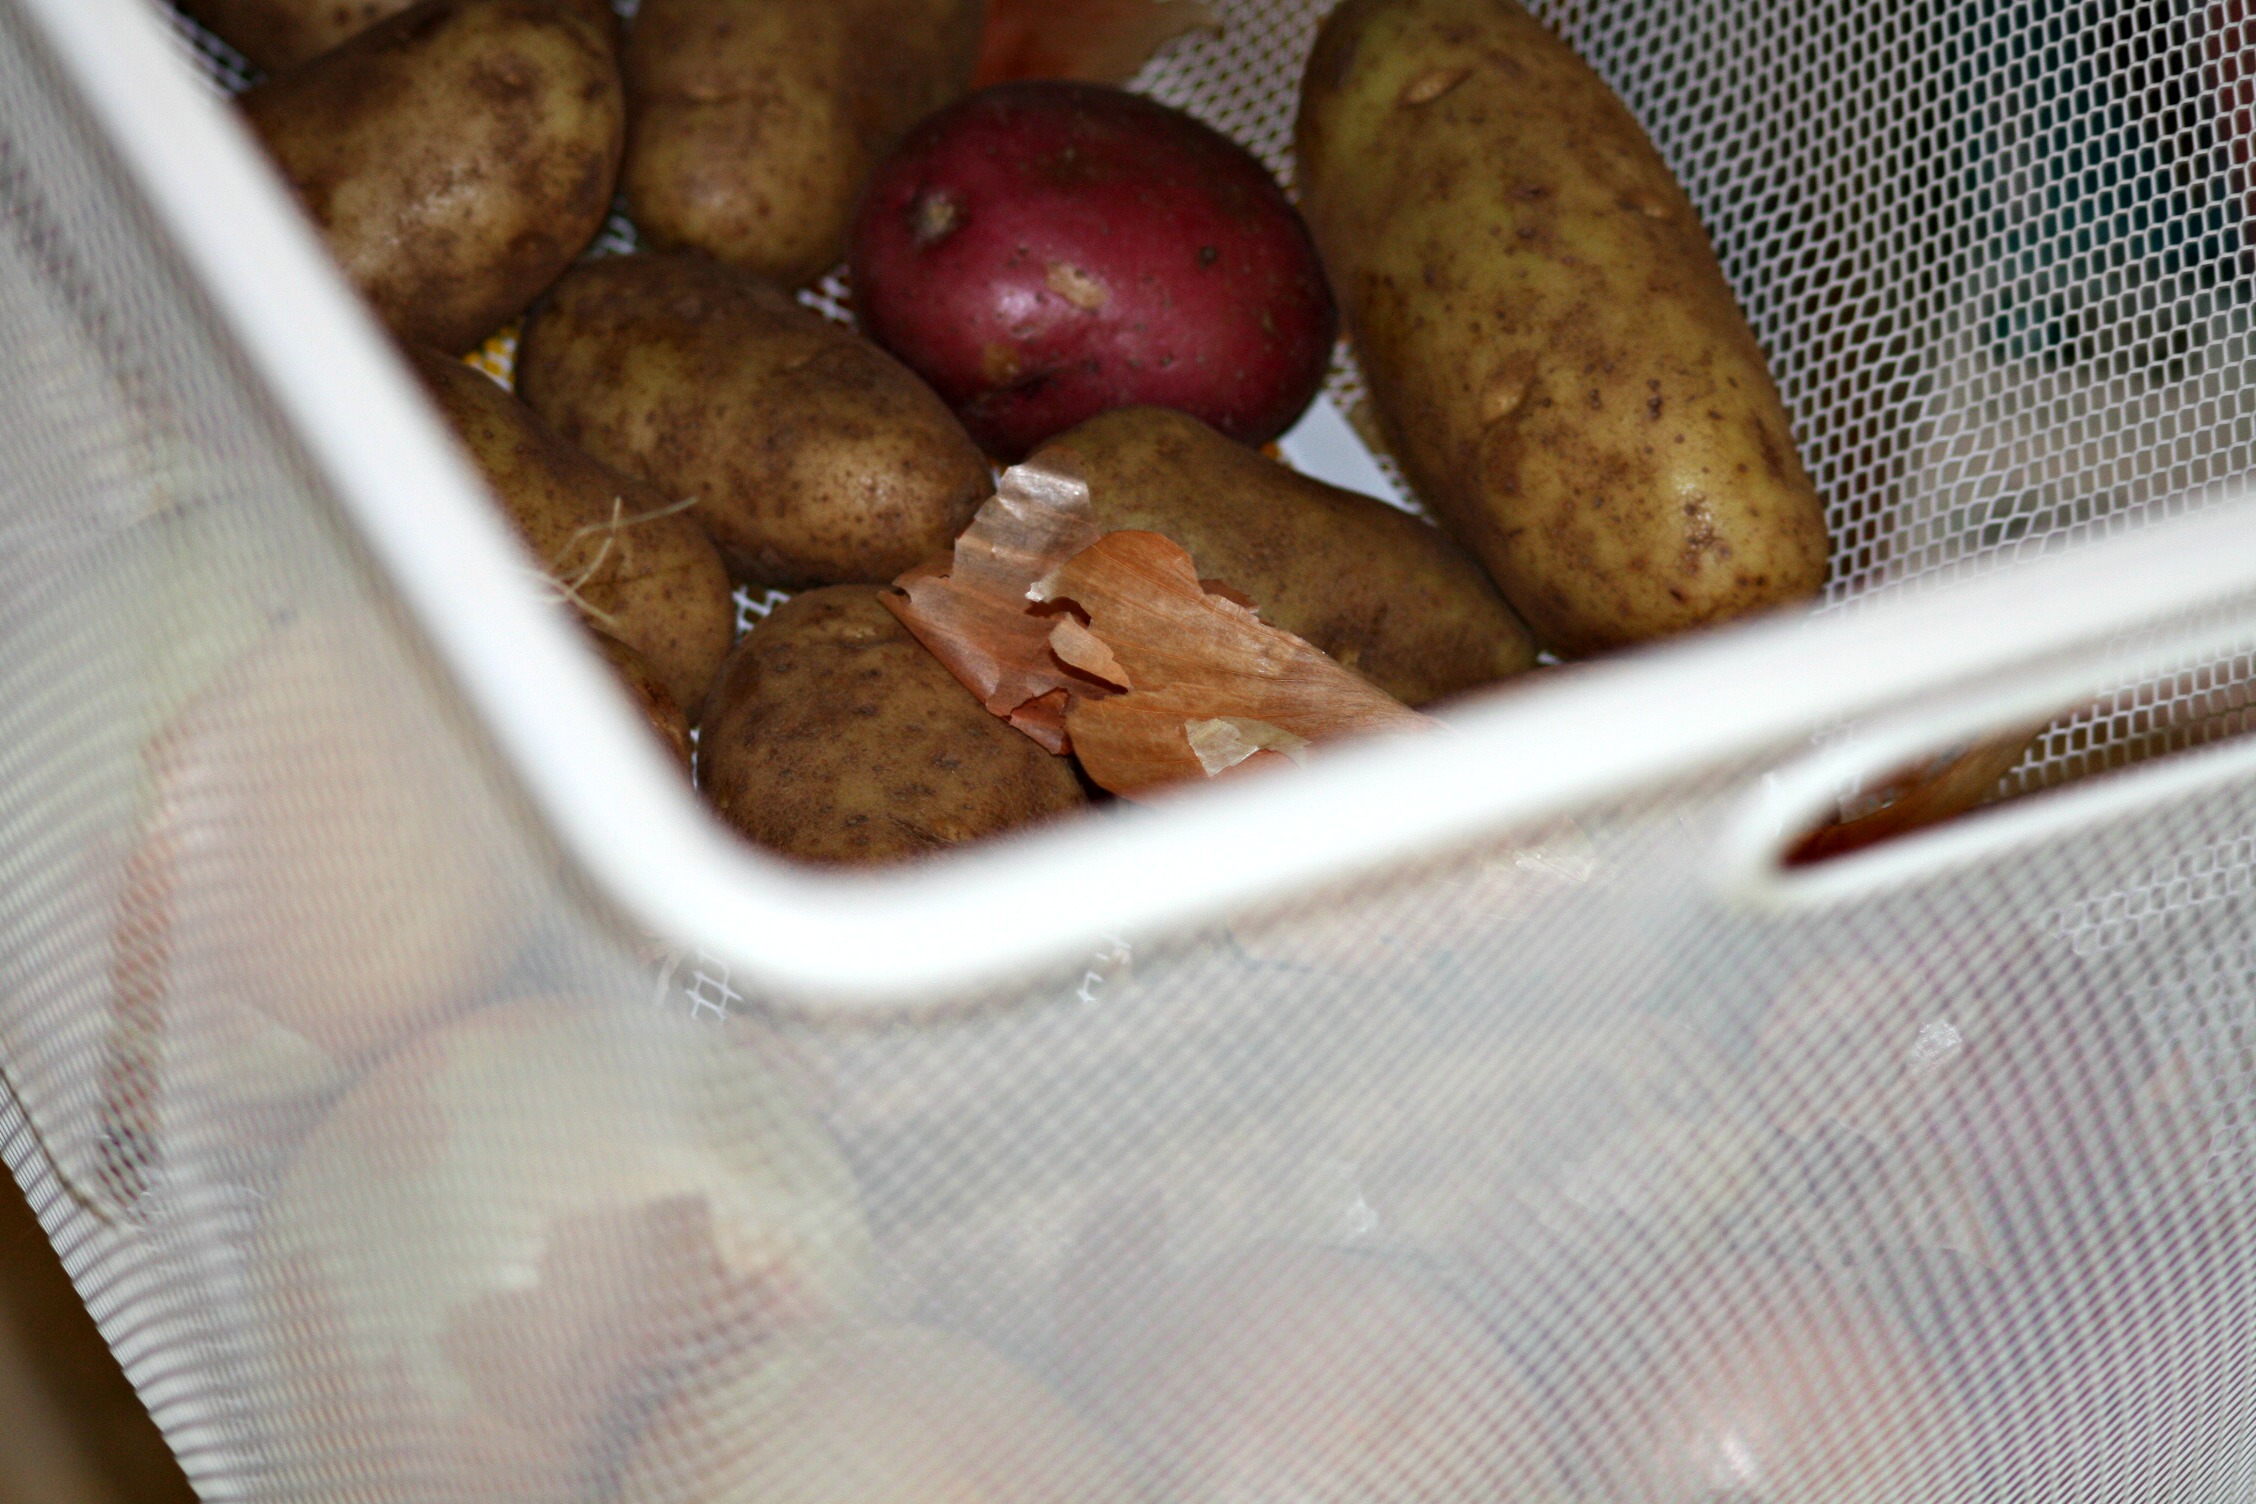
I used the IKEA Algot system and cut it up to make the perfect fruit and vegetable storage baskets in the island.

13775883_10154368097768633_569327509324009671_n

I was able to fit five large baskets perfectly into the island frame.

baskets

I find the baskets extremely useful!

14681729_10154658823828633_4852890822280370098_n

I router-ed two of the 4×4 braces to fit the electrical wire inside the island frame. I also sneezed, can you tell?

Island Framing

Island framing has begun. Can you see the dirty outline of the old island? I was excited to add an additional outlet to this island.

Framed island

A thing of beauty!

planked-island Planking

I decided I wanted the planked look on the island as well. There was a big debate about whether to stain or paint the island. I decided I wanted to paint.

painted-planked-island

The color was not what I intended but it works just fine.

Maple Boards

I ordered 8′ maple boards. As the island is 8′ long I planned to glue cross pieces onto each side. It covers the rough edges and gives the counter top the over hang it needed.

glued-together-butcher-block

I glued the maple planks together with Titebond III Ultimate. I also managed to glue some of the tarp in. I’m talented!

gluing-edge-pieces-on

This is how I bypassed using a clamp to glue the edge pieces on.

planing-the-butcher-block

Then the planing began. I planed for about a month.

Then it was time to sand. To help flatten the butcher block island I screwed it down before I began planing and sanding. As such I was not able to take it outside to sand. I got a little creative.

prepared-for-sanding

It worked. No one was more shocked than I. I barely had to clean dust off of the rest of the kitchen.

shiny-and-newly-sealed-countertop

Then the sealing began. Well first you have to wash it, several times. Then I scrub with lemon and salt. Then clean again. Then oil, many times. Four regular coats of oil and one coat of oil that is mixed with beeswax.

edged-butcher-block

Doesn’t the edge look great!

island-in-use

Now the kids, the dough, the machines and whatever else I want can fit on the island.