Blue’s first tail display

Blue has grown a mighty fine train. This weekend was the first time I’ve seen him display it. I had to take the pictures from inside the house. I didn’t want to spook him off. Still, marvelous!

Oh, but the ladies were not impressed.

11006395_10153086147848633_4681199706651190539_n

This is our front lawn. I had swept a bunch of cat food out onto it and the peas have been busy hunting it out.

11001776_10153086147943633_9068131038553450497_n

10991409_10153086148368633_5317658967477542400_n

10996364_10153086148613633_735669925272559645_n

10991252_10153086148878633_3112515180416236048_n


Blue kept trying to threaten this rooster but the rooster was unimpressed. Blue needn’t waste his time. This rooster is very young still but I have a feeling we will be forced to eat him. He’s a bit….too friendly with people. I think he’ll get mean.10968577_10153086148178633_7663423407784535405_n

10991177_10153086148683633_1776524947117731158_n10891435_10153086148093633_8239308709084955392_n 10649583_10153086148443633_4324981849162458213_n 10151822_10153086148563633_2107380748722956973_n 1922388_10153086148773633_8523043060368636234_nI’ve raised these peas since they were 6 weeks old. I’ve lost 2 but the remaining 3 are marvelous!

Here is a baby pic.

Peachicks

Orchard planting and seasonal progression- Year 1

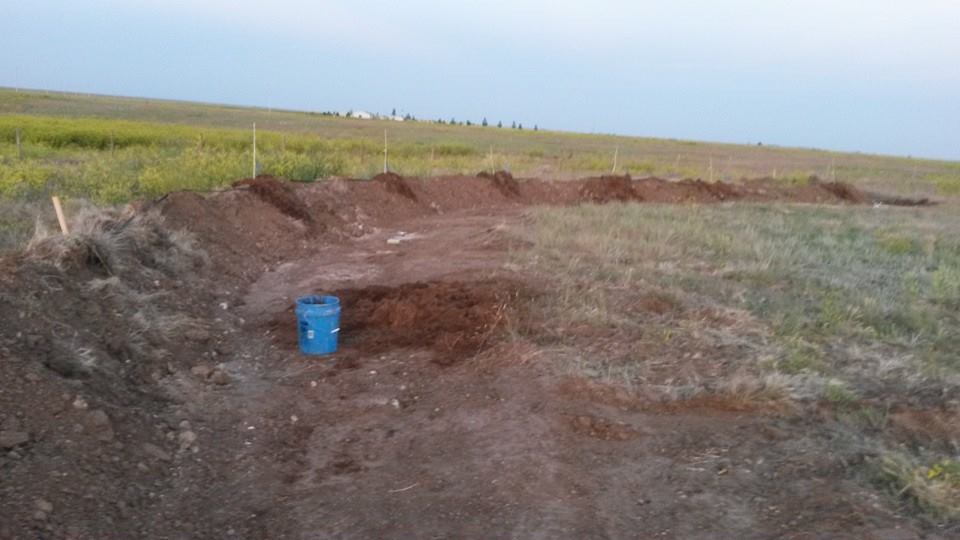
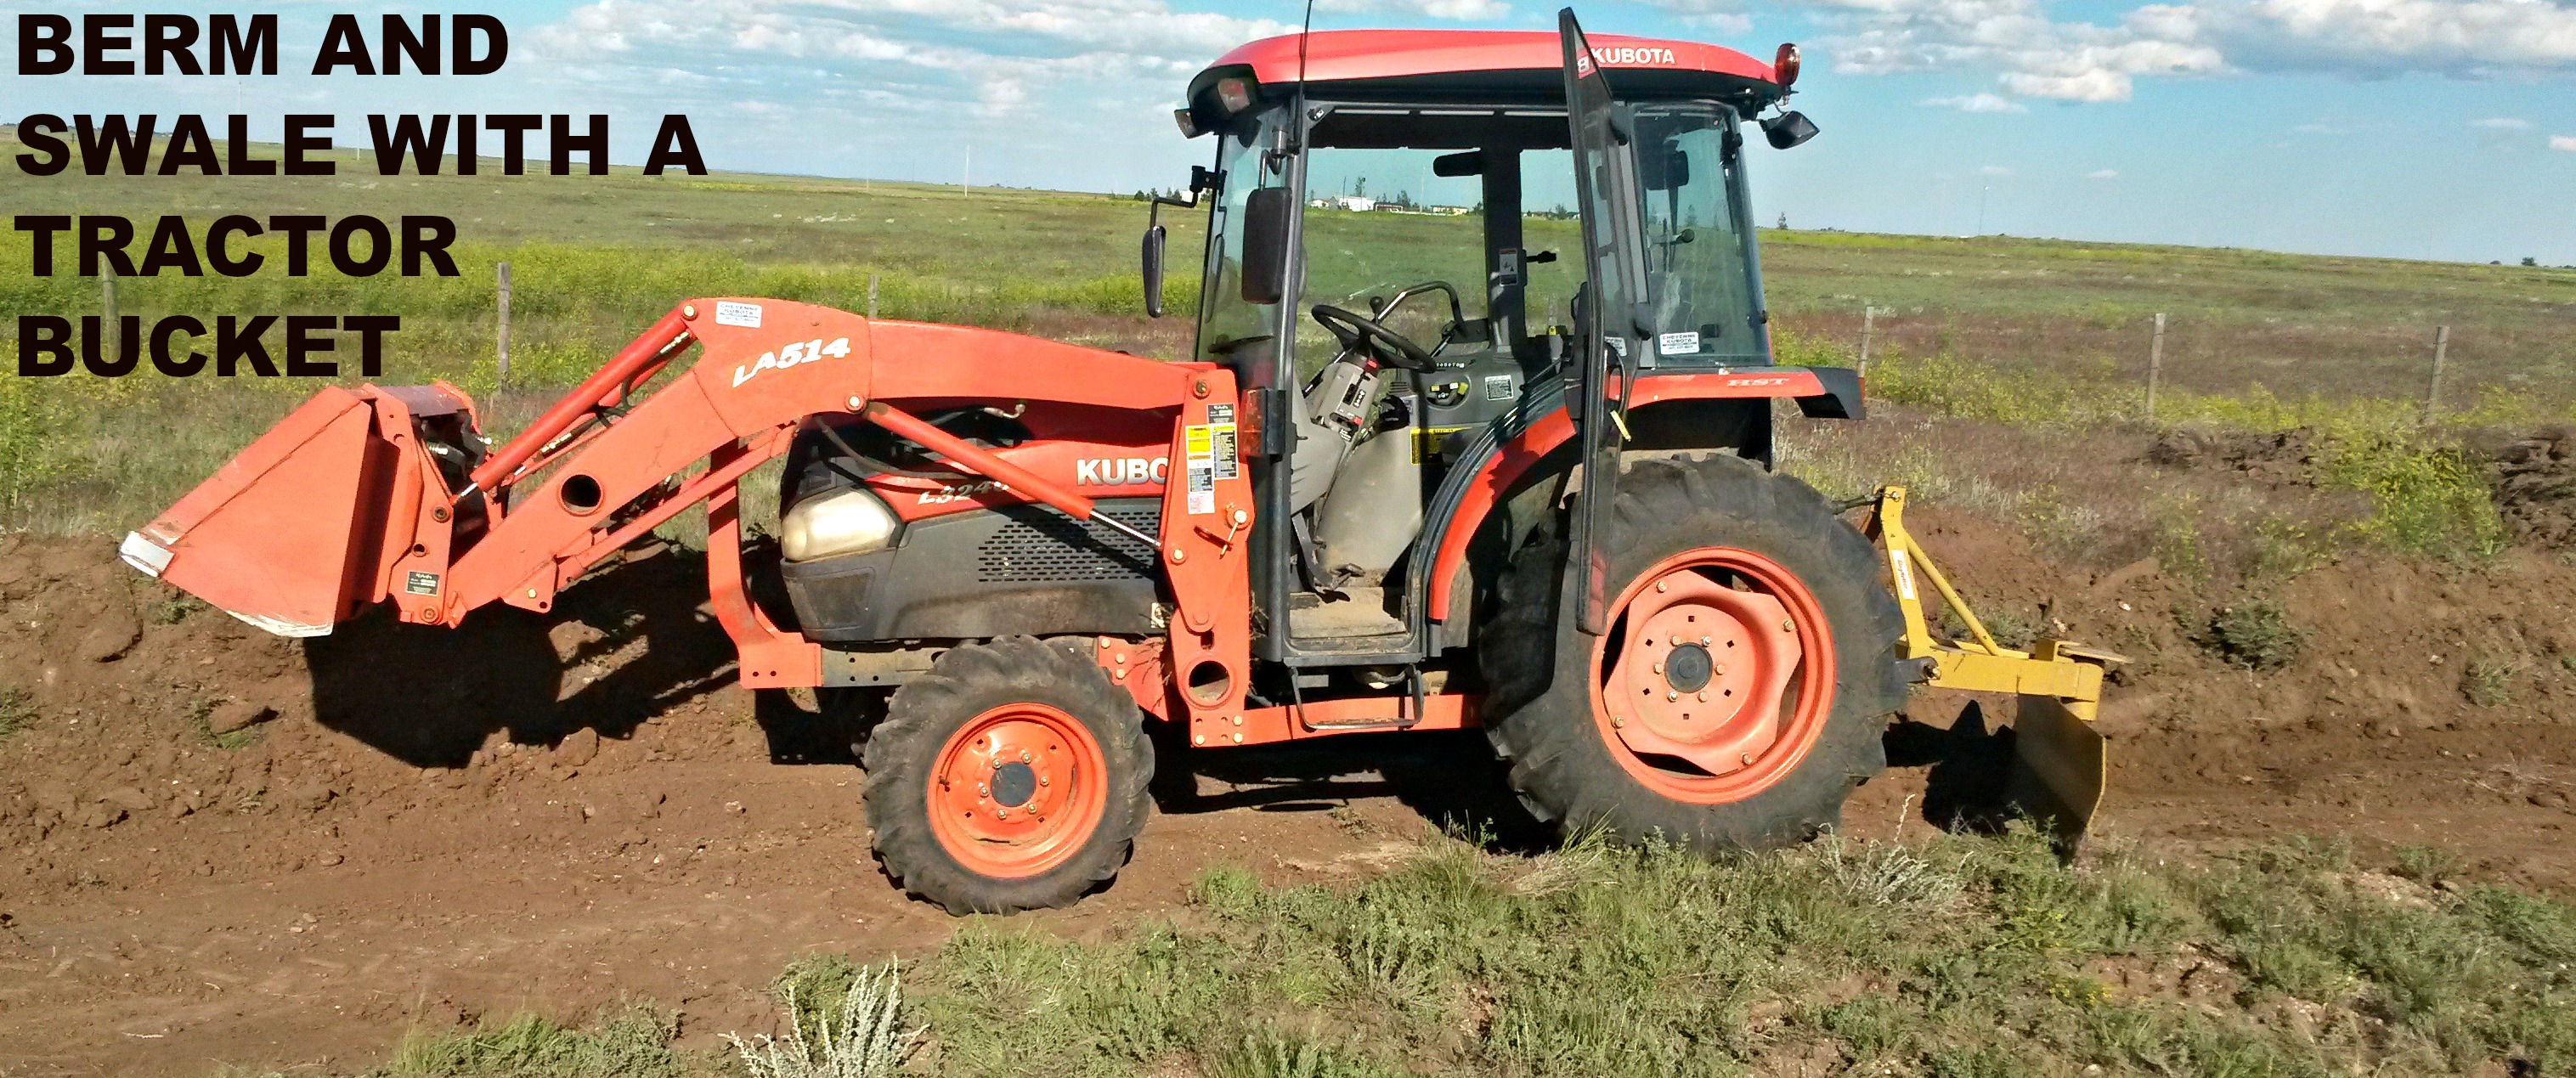
I ordered my trees from Stark Bros and had them delivered in July, not a suggested time for tree planting but it is what it is. I immediately began my earthworks after placing the order. Then I painted tree stakes and laid out my plantings. I finished just in time.

tree box

I was amazed at how small the boxes were, and a little wary. I began unboxing and soaking my trees immediately.

tree close

Please excuse the mish mash of detritus in this picture. This is my unboxed tree showing some leaf budding. I went about painting the trees white while they soaked. It was July and I did not want my new trees to get sun burn.

painted trees

All painted! You can see that I have a lot of shredded paper in there with my plants. I wasn’t going to be able to plant them all in one day, as I had 36 and was planting alone, so I “hilled” them in their containers.

tree

Here is a happily planted and mulched tree looking very much like a stick. I just knew it would grow into a beauty! You can also see my hand painted stake used to identify the tree and plan out the planting.

trees planted

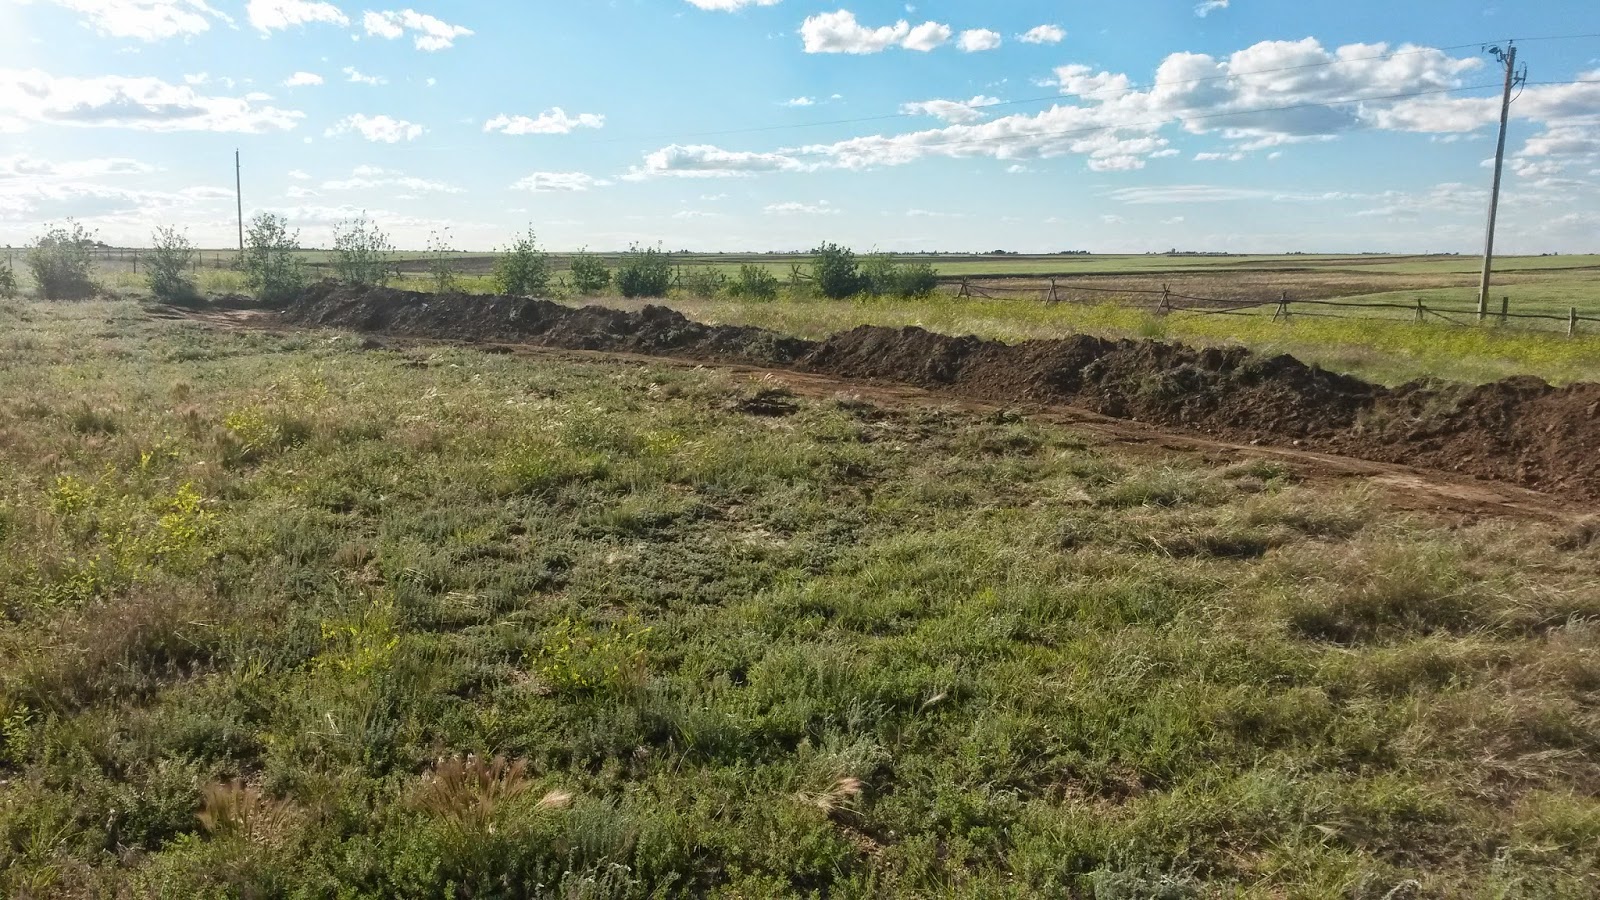
It took some time but I managed to get one full berm planted and mulched. I left spaces in some spots for cherry trees, which had been sold out when I’d placed my order. The mulch is extremely moldy straw that has been sitting in a corner of our property since before we moved in.

sprouting 1

I was extremely happy to find that within weeks I had some beautiful leafing. I was concerned about two of my trees though as they were not showing leaves. I hoped they made it. Thankfully they did, they just took a lot longer to adjust than the others.

growing fast

Now look at this, a very happy boy helping me show the height and growth of our trees. This tree just shot out quite impressively. It is a Superior Plum tree, standard sized. My son happily walked the berm line with me nightly, talking about how excited he was to pick fruit off of the trees. I don’t believe he realized how long he’d be waiting though.

black leaves

I did have some issues though. I am not positive but I believe we had some blight. You can see the black leaves in this picture. I took shears and cut all the black off, bleaching between prunings, and then burned the clippings. I hope I do not see it this year.

20140801_194801HUGE lettucve green berm

After I planted the trees I threw out a great variety of herb, salad, vegetable and flower seeds. It was late in the season but I had some amazing lettuce growth. This lettuce reached 3 feet in diameter with leaves bigger than my head. I had poppies and nasturtium do well. I also had a ton of various lettuces.

20140921_135352berm

I cut some bushes down and threw all of the branches into my swales.

kids with letturce

Most of the berm produce went to the poultry. I did save what seeds I could for this springs planting. The kids loved bringing the poultry goodies.

trying lettuce

I find kids will try about anything if they can pick it. Though that doesn’t mean they’ll like it, as seen here:

spitting lettuce out

We had quite a few beets grow and the turnips grew absolutely massive in size. My son happily washed and bit into every plant he picked. He thought the beet was sweet but he had quite an attack when he bit into a turnip. I licked it and understood why, it was incredibly spicy. The chickens adored those turnips though.

turnips(excuse the mattress behind the kids in this picture. It is our old bed, which I stripped down to the frame and intend to use as a trellis this spring. You can see the stripped frame in one of the pictures below.)

pruning

I did prune, not much, but a bit. My Son was anxious to help me with that job. Here he is cutting some suckers off of the bottom of the tree. Great view of one of my tree markers as well. Superior is the type of fruit, Then you can see Plum written under it and the S stands for Standard sized root stock. So this will be a standard sized superior plum tree.

mulch rocks mulch tires

Then it was fall and time to protect my trees. I ended up transplanting my grapes onto the berms, under the standard sized fruit trees. Where I planted a grape I used cement to hold down the mulch. It has worked quite well so far. I used the walls of tires to hold the mulch down around my black walnut trees. That has also been a successful method of holding mulch. We get some impressively fierce winds out here, 40-50mph is normal for us.

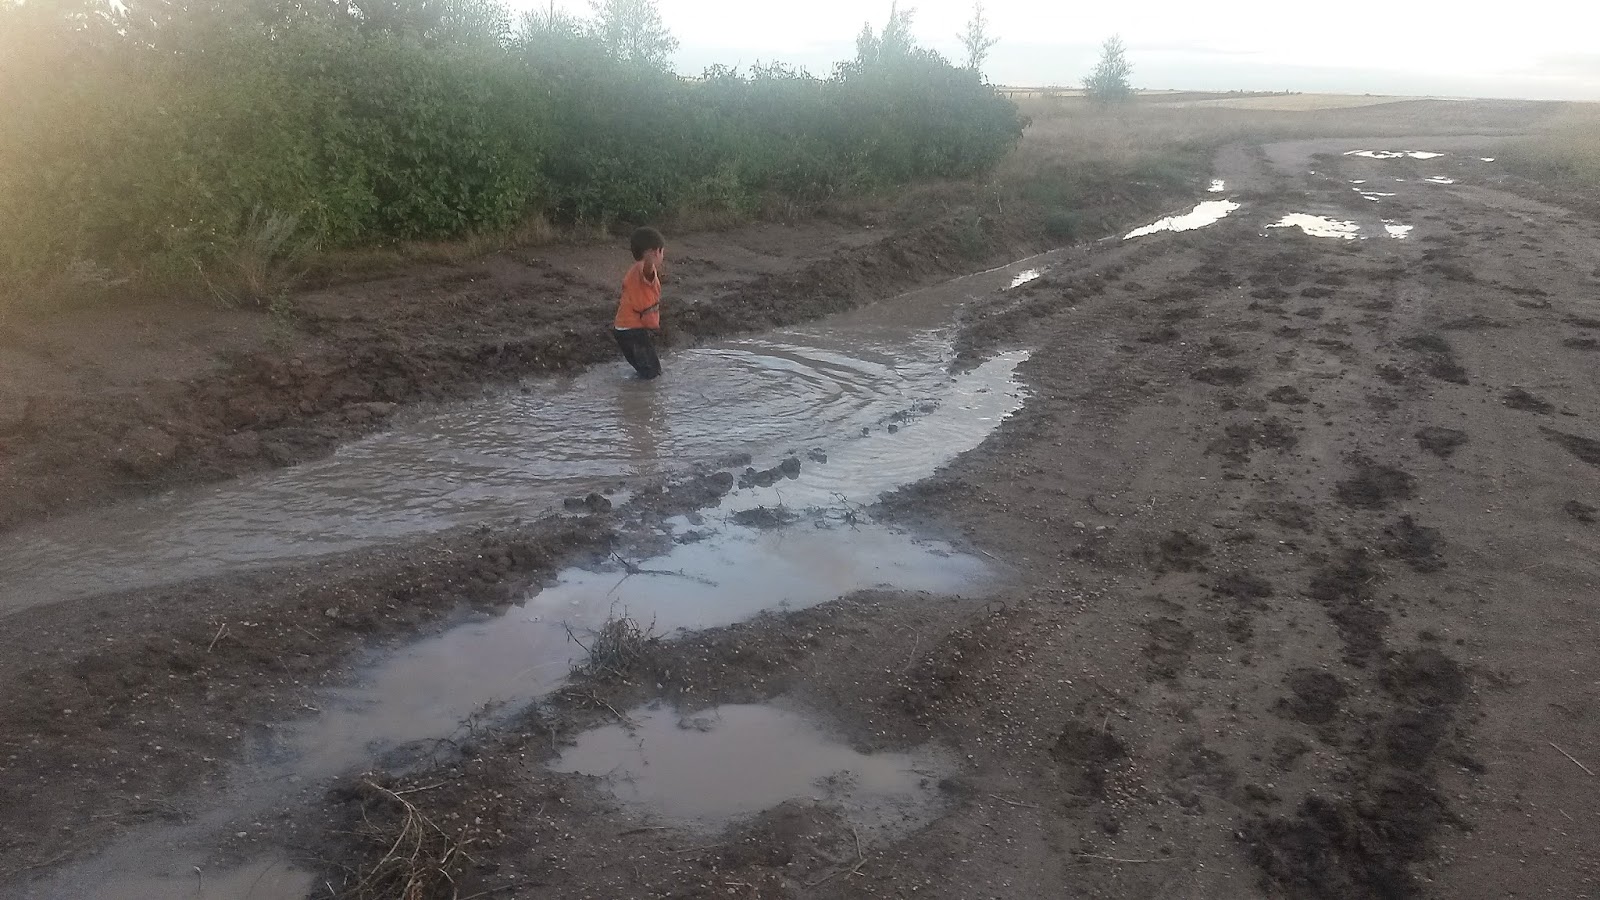
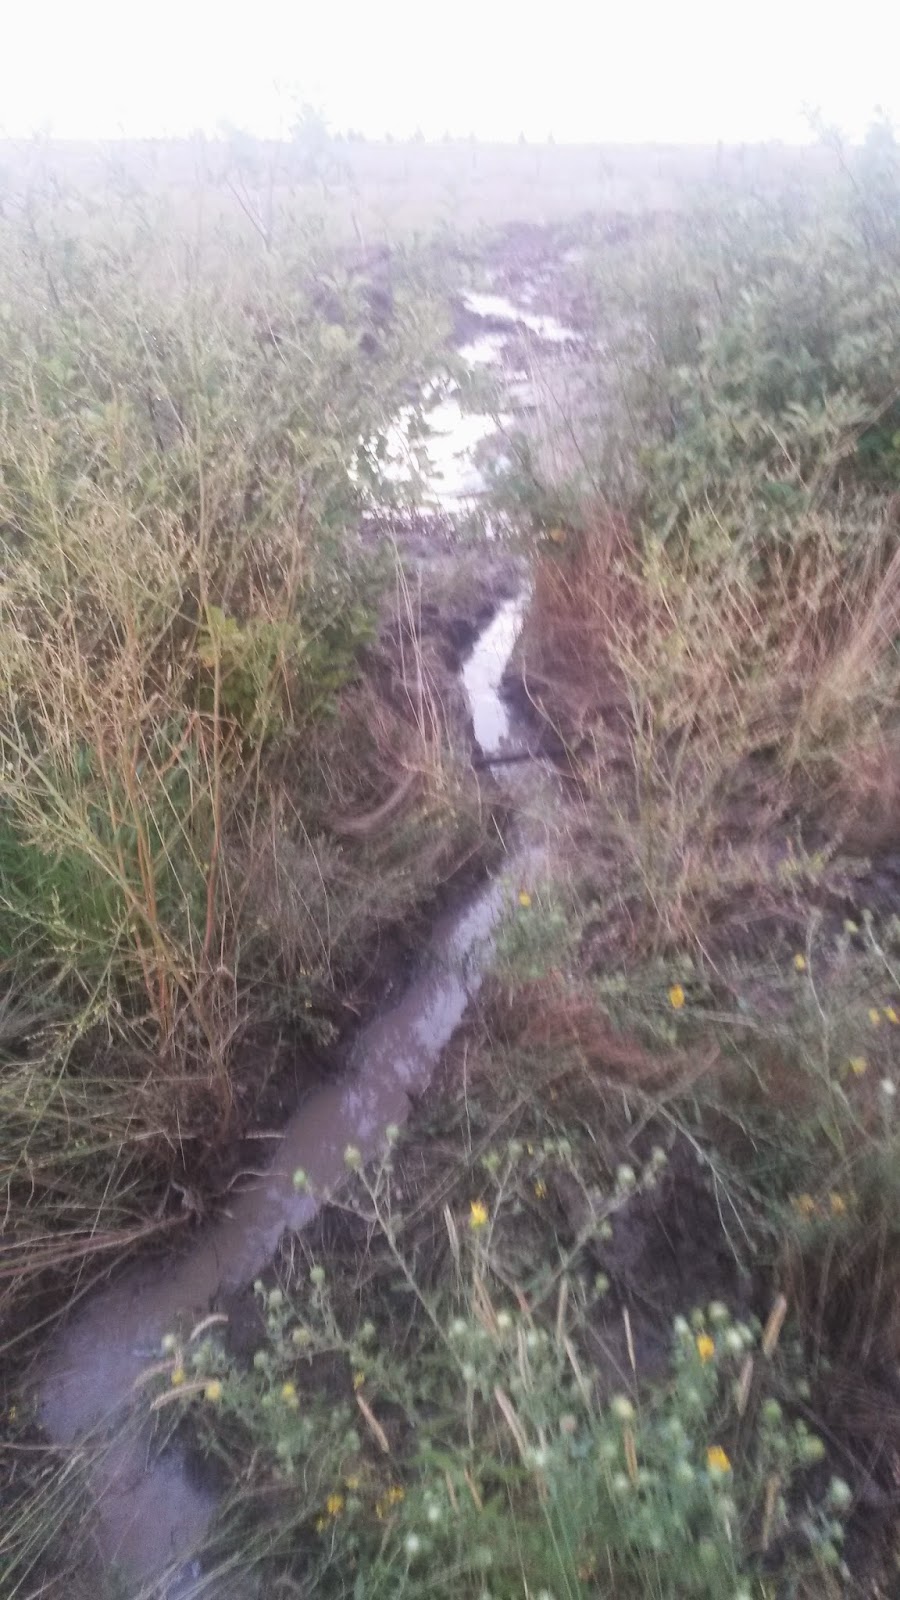
Now to wait and see what happens this spring. Did all of my trees survive? I am hopeful. The berms and swales did an impressive job of collecting snow so I believe my trees have received a decent amount of water. It has been a rather dry winter so far. We still have snow collected in the swales and in some of the water diversion ditches so I would say the earthworks did the trick.

La Vieille Ferme Recolte 2012 Wine and La Tournette French Raclette Cheese

OLYMPUS DIGITAL CAMERA

Wine:

     La Vieille Ferme Recolte 2012      $9.99

[Abbreviated from back of bottle] This full-bodied and fruity wine comes from vines grow high on the flops of mount ventoux, one of the best vineyards in the Rhone valley…..A blend of Grenache, Syrah, Carignan, and Chateu de grapes……..full of fruit and spice aromas, it has soft tannins and good body.

Cheese:

  La Tournette French Raclette Cheese        $7.61

[I made this up after minimal research] La Tournette is a mountain in France and Raclette is the process of scraping off the melted part of cheese for a meal. So, while I couldn’t find a direct definition for this cheese I imagine this is made in the mountain region and meant for melting.

Wine Review-     Not too dry or bitter. Pairs well with the cheese. The cheese seems to bring out a sweeter flavor in the wine. A Honeycrisp apple also helps bring out a sweeter flavor in the wine. The wine has a spicier flavor on its own. Of course, the more you drink the better the wine tastes! We did end up drinking the entire bottle so it’s a winner in my book.

OLYMPUS DIGITAL CAMERA

Cheese Review- Well, Daughter spit it out. She did not like it. I found it to have a smoky flavor that was quite pleasant with French bread or honeycrisp apple. I wished I’d bought grapes as I thought it would have been an amazing pairing.  Alone the cheese is a bit bitter and sharp. Still, not unpleasant.

OLYMPUS DIGITAL CAMERA

Ok, so this is our first review. Let me set the scene. I bake the bread, clean my cheese plate, cut the apple and plate everything. The kids can smell food from miles away. As soon as those platters of food hit the table both kids were surrounding it begging to eat. I insisted they clear out so I could get a few pictures with our crappy camera. That achieved, the family crowded around and began eating. It didn’t take long for Ella to end up on the table, the wine had to be removed. Then Ella was removed for fear she would fall off the table. Then we were trying to talk but the kids kept interrupting.

Finally I set both kids up with apples and crayons and we were able to review the wine and cheese. We were also able to laugh a lot about our life as Ella kept trying to color on her hands. I ended up making paper airplanes and reading books. A bottle of wine mellowed us out quite nicely though and we had fun chasing the kids about before researching whales on Youtube.

OLYMPUS DIGITAL CAMERA

OLYMPUS DIGITAL CAMERA OLYMPUS DIGITAL CAMERA OLYMPUS DIGITAL CAMERA

Earthworks Update

I had originally planned on doing a single post to sum up the earthworks I had done. However, it was so long I had to break it into two parts. The previous Earthworks post was all about the construction. This post is all about the swales and basins in action.

Our driveway is a nightmare in all but bone dry conditions. Our driveway is lower than the surrounding land and simply collects and stores water. The ducks appreciate that and move from the pond I built them to the driveway after every rain storm.

bad driveway

We appreciate it a bit less as our cars are small and have to be towed out of the mud regularly. So I finally decided to dig a trench on one side of the driveway with the tractor. We were able to do that and use the back blade to make it fairly decent. The dirt dug from the trench was put back onto the driveway to try to get it crowned. It is working fairly well.

Here is the amount of water our driveway holds after a single rainstorm. This is just a small section of our driveway as well. This water used to spread out into large ponds all over our driveway. The trench has kept the water to one side for the most part. The trench is also draining into a small retention pond.

20140805_194209This is one of my swales collecting driveway water. It is slowly draining away. Works great!

This i a diversion ditch we dug from the driveway and into the swale.Another angle of the diversion ditch with the swale seen through the bushes.

My ditch digging helper!

Now all of that was just one rain storm. I also took some pictures after a snow storm.

rabbit trail

I just had to share a picture of this rabbit trail. It is insane how many rabbits we have!

snowy swale

nut swale

This is a swale on the nut forest side of our orchard. So far I only have a few walnuts planted in it. These swales were a bit smaller than the fruit tree swales. As you get closer to the edge of our property the swales completely disappeared under the snow. They held a lot of snow for us.

reservoir

Now this was the retention pond I did at the lowest point of our property. It is hard to see how deep the snow is here but it was over a foot. It filled up quite well. My son is in this picture doing snow angels in it. He loved our adventure out into the snow.

fruit swale
This is what the fruit tree swales looked like. They did collect a fair amount of snow.

basin in the snow

And this is the retention basin that our driveway drains into. It is over 2 feet deep and it filled in completely. I think this shows me how great retention basins are for our property with the wind. I am going to do many, many more in 2015.

My First Earthworks

Once I caught on to permaculture it took very little time for me to put it into action. My first priority was to set up a few swales for the fruit trees I’d ordered. 

It took me several days to dig out all of the swales. Of course, it may have gone faster if I hadn’t been doing it with kids on my lap. They’d inevitably fall asleep and then I’d have dead weight and drool on my arm. I’d just dig until I couldn’t take the weight anymore. The kids loved watching me dig though. 

My swales are not exactly on contour. I eye balled it and then what happened in the tractor, happened. I wanted water to drain into the swales and away from the driveway. So far that has been successful, so these swales are perfect for our needs. 

There is a large amount of space between my swales. I have debated extensively on what I should do. More swales? Infiltration Basins? Free space? I finally decided on infiltration basins that will have trees planted into the bottom. I think with our wind blown environment that plantings done below ground level do the best. I actually tested planting bushes into 1′ deep holes. I documented that here.

 This is a pic of how far the first swale is from the house.

TRACTOR PHOTO

 So this is my busy little tractor with the back blade smoothing out the base of the swales.

This is a finished swale. Not the most even berm on the downhill side of it, but I’m happy! I worried about the electrical line coming through at that low spot so I did not dig as deep and I did not plant any trees near it.

Lovely little tractor in the swale. I didn’t have the foresight to get pics WHILE I was doing it. It was only when I was done that I thought to take pictures.

Now, this is not a swale. This is a mini retention basin. This is the lowest part of our property and I was hoping to keep some water and dirt on my property and not the farmers. So this was done on both sides of that fence (which is soon to be removed). I hoped it would also help with the road which is AWFUL at all the low spots. I must say I haven’t seen a difference in the road there yet. Unfortunate! I’m going to be working more on this basin I believe. I hope to turn it into a full blown pond. Permits will be needed for that and probably an excavator.

This is from the bottom of the retention basin. You can barely see the tractor at the top of the slope there. It’s steep here but the rest of the property is pretty flat.


All told I made 4 swales and 3 basins. One of the basins is ineffective and I’ll be filling it in this spring, but the rest were wonderful. I intend to dig many, many mini basins in the future to help catch blowing snow.


An Introduction!

I’d like to welcome you to Peacock Orchard. I am excited to have you join me in my pursuit of a sustainable and delicious life for myself and my children. I thought I would start with some background:


I was born in the “burbs” in Cheyenne, Wyoming. I know, don’t laugh, I really am saying Wyoming has suburbs. My mother always had the best garden in the area. Her flowers would grow taller than the fence. I loved to sit with her and dig in the dirt talking flowers. I am now looking forward to giving that to my children.


Our farm is 40 acres of former wheat fields 20 minutes outside of Cheyenne. Up until 2014 I had not taken much interest in the state of our land. It seemed a rather hopeless case having been severely over grazed by the previous owners. We did not have livestock so it seemed unimportant at the time and my energies went elsewhere. Now that we have children I am becoming more interested in what we are feeding them and how absolutely horrible it is. We started with chickens which quickly spiraled into ducks, guineas, turkeys and peacocks. I hope to add larger livestock to the mix soon.

Our land is basically dead. I began researching how to reverse that and came upon Keyline design which led me into permaculture. This is my permaculture journey. My struggle to raise trees in the harsh Wyoming climate. My mission, my life, my passion. Welcome!

Peacock Blue