This is a guest post by my wonderful Husband who does far more farming than he ever wanted to do.
Readers Notes:
*If you are here solely for the supplies and instructions scroll on down for the TL;DR section of this post.
*Pictures were not taken of the original process. The pictures attached to this post are an example of what was done in smaller scale.
A couple of years ago we raised turkeys to sell as mostly organic, free range, farm-fresh, etc. turkeys. We harvested 12-15 turkeys that year, our first time. (The exact number alludes me, but it was a lot for a first time.) I was sorely unprepared for the killing part, the scalding part, the plucking part, pretty much every part, so I figured I’d improve that this time around.
Why would I make a kill cone? I hung the turkeys upside down with rope with pretty good success last time. Although once the turkeys get above 35 pounds, trying to put their legs in the slipknot of a rope can get tedious. After I took a couple of shots in the ribs from turkey wings I decided I didn’t want to deal with the pain and hassle of it this year. I figured it’d be easy to just slip the turkeys into the kill cone and let them calm down in there, plus they don’t move around as much in the cone as they do when they are hanging loose on the rope, so that’s another added benefit.
There are about 40 pages on google on how to make your own kill cone but all of them were for chickens. I had a problem finding actual directions on how to make a turkey sized kill cone. Reading through a couple different websites the best I could find was “well I’ve never made one, but if I did, I’d do this” and their dimensions were different from other sites dimensions. All the various chicken kill cone dimensions matched up, however.

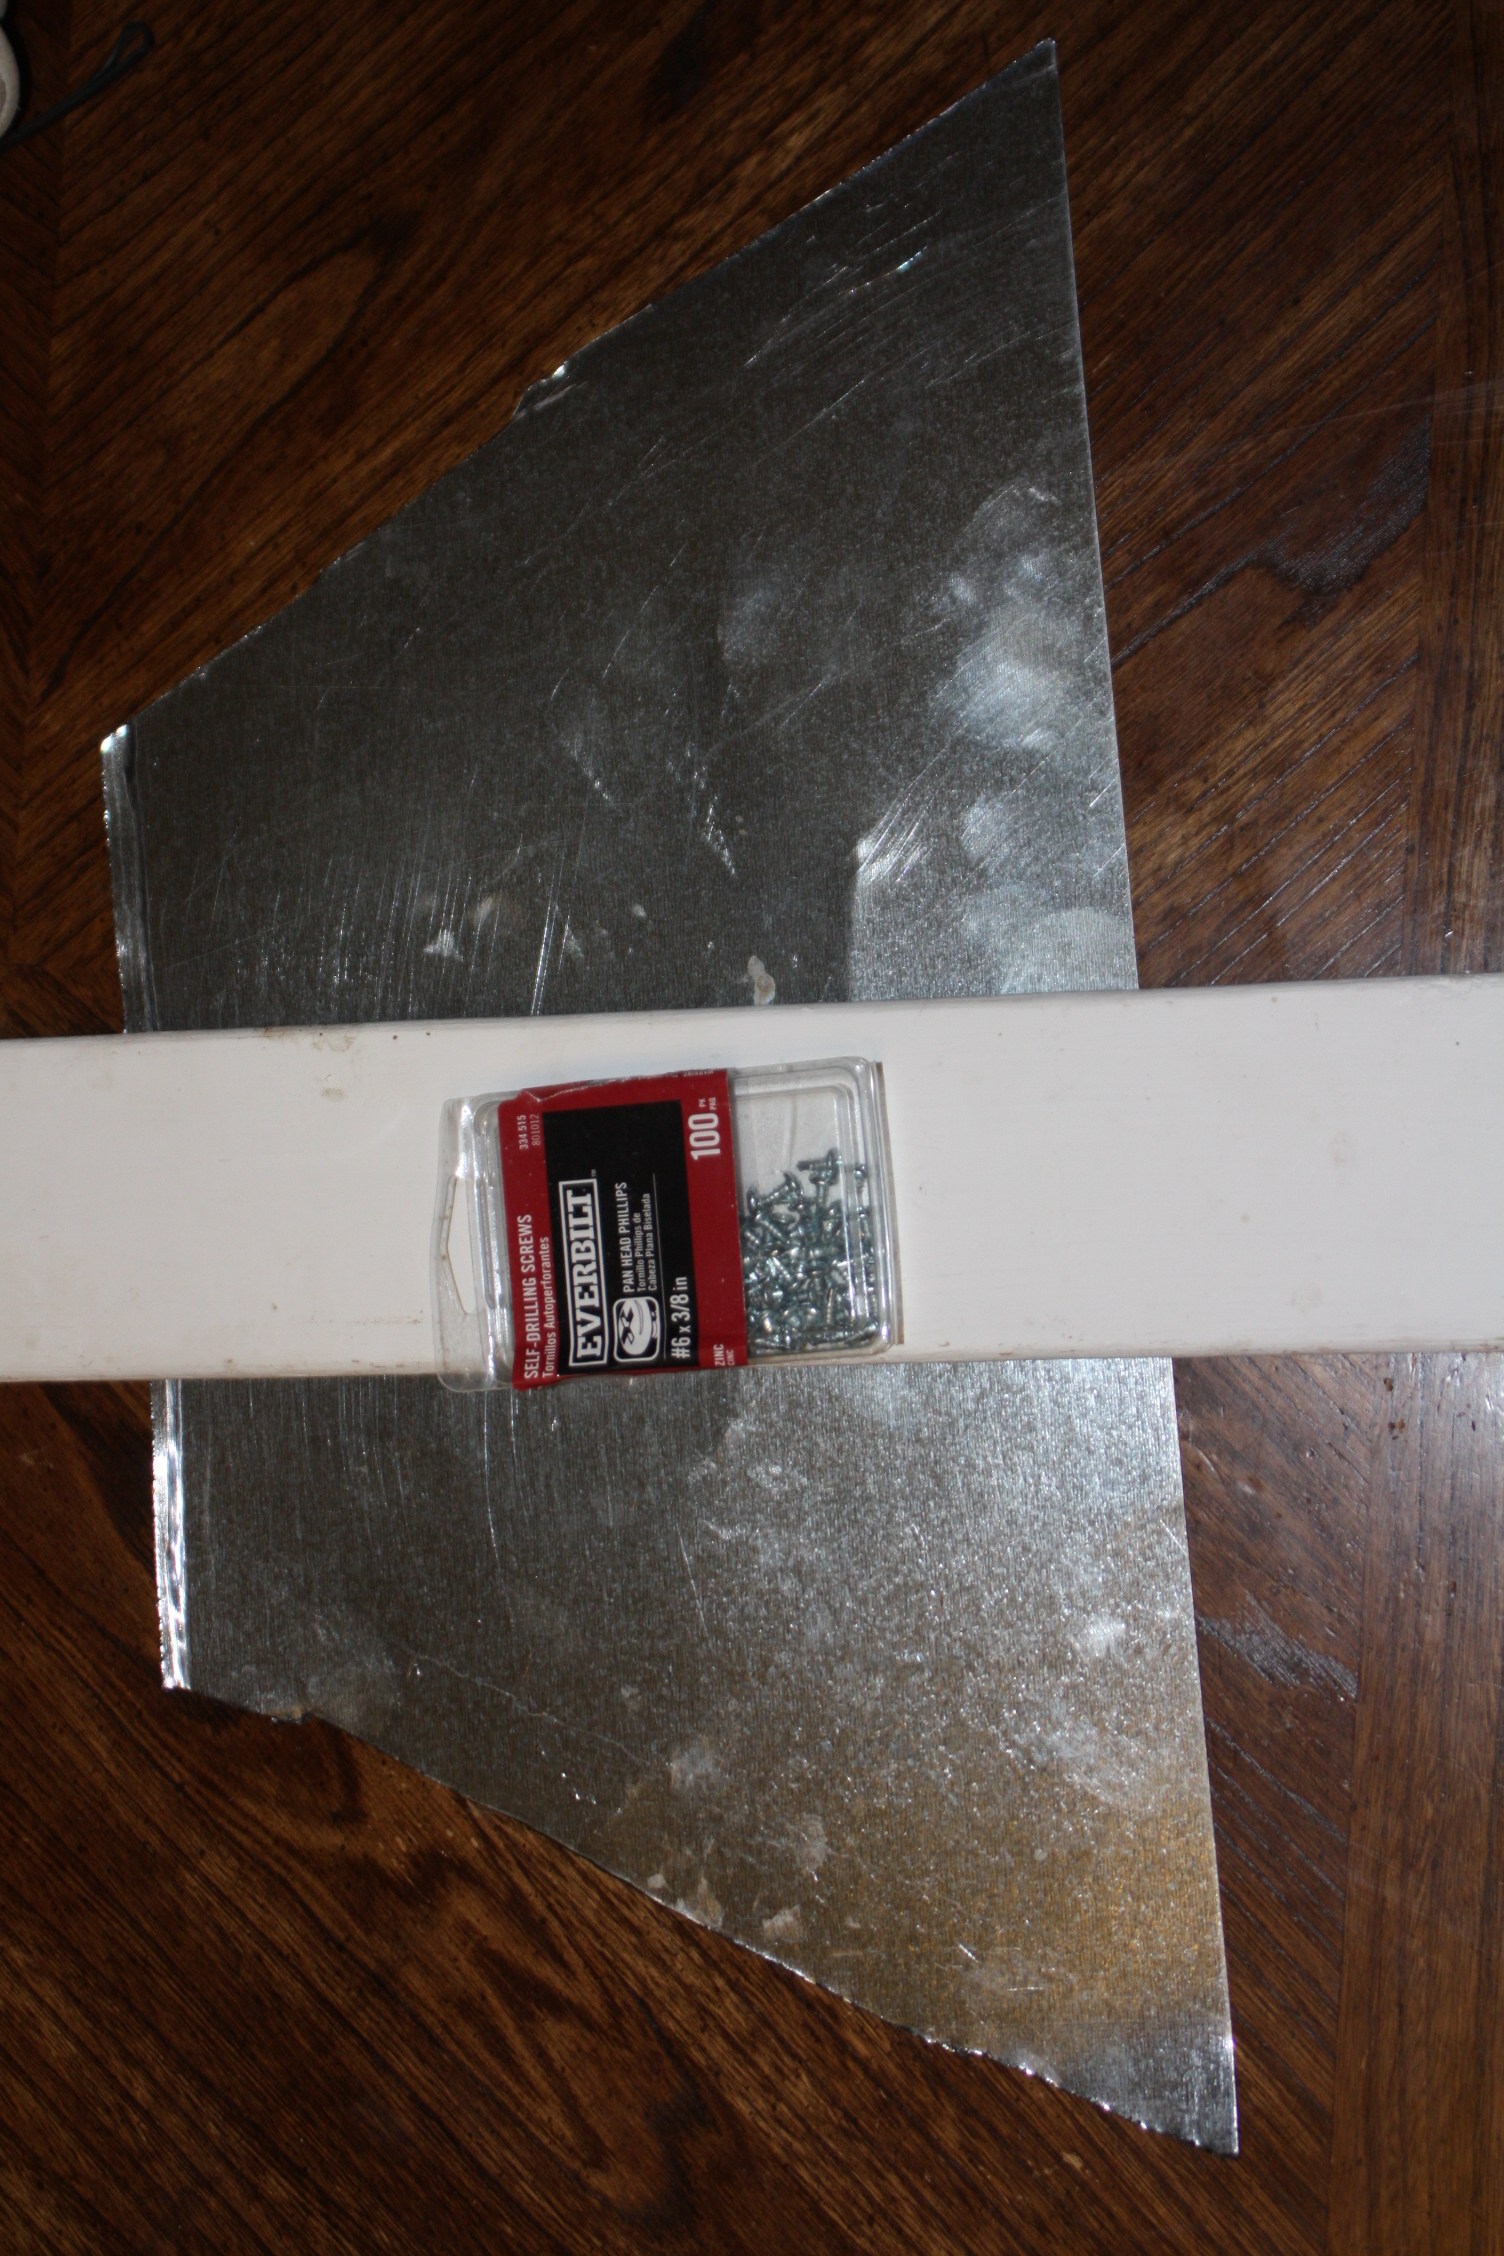
I bought several pieces of 36″x48″steel flashing which didn’t list the gauge. I’m guessing this piece of sheet metal isn’t at that sweet spot of 26 gauge, as it felt like it was basically a piece of aluminum foil folded in half twice, or a little thicker than an aluminum can, but it worked just fine. I bought this at Home Depot, and the sheets were about $16 a piece. Most websites were saying to use tin snips to cut the metal. The tin snips this place was selling were $34?! more than the cost of the two pieces of sheet metal I was getting. I thought, “Screw it. I have a circular saw with a metal cutting blade, I’ll just use that.” Trying to cut a giant piece of basically soda can metal without a proper cutting work bench is a pain in the neck, and I wouldn’t recommend it at all. If you don’t have a pair of tin snips, don’t be cheap and just buy the freaking things (at the time of this posting we still don’t own tin snips, so listen to my “don’t be cheap” rant with a grain of salt).

The next hurdle I came up to was how to fasten the metal together. One site said to use tapping (self drilling) screws into a board, another said grommets (man, I really wish I knew how to do that) , another said rivets, and another one just said to use nuts and bolts. I bought tapping screws, which I didn’t use and some nuts and bolts, which I did use. Just buy the smallest size nut and bolt they have.

Now comes probably the hardest part if you aren’t good at math, which I am not: the trapezoid. You basically cut the metal into a trapezoid and roll it like you are rolling a newspaper to swat a fly, and that makes the shape of the cone. Now some sites will try and have you cutting these elaborate patterns that aren’t true trapezoids but a sort of trapezoid with some stupid looking tab you might see on a filing folder in a filing cabinet. You don’t need to mess around with all those extra cuts and curves, just cut a dang trapezoid, if you are lucky enough to cut on just two lines DO IT! But you’ll probably have to do three.

Now comes the difficult part of rolling the cone and putting whatever type of fastener on that you are going to use. For these turkey size cones, you will need help, trust me. Roll the metal, measure the head opening 7″ wide. Have someone hold the metal together, drill holes and insert your nut (flat side on the inside of the cone). Fasten the ends first. You can do the other 2-3 holes or fastening areas on your own.
And there you go, that is basically all there is to it. The “experts” on the other sites say you can do it in about 5 minutes. And you probably can, but for a first time without all the right tools, look at it being 15-20 minutes of your life to save you not having to deal with angry turkeys hanging upside down from rope.

Oh, and you’ll want to hand this thing up on a sturdy piece of anchored wood, to do that add a piece of metal from the scrap metal you have from cutting it. The metal I was working with felt too thin to use it so I folded it in half using an eyeballed 8″ x 3.5″ piece, I folded the metal and drilled that into the cone at the top of it so I cold use that tab to hang it on the beam. It worked OK, but if I had to do it again I might fold it 3 times so it’s thick enough to hold it without the threat of it ripping in half and the entire apparatus falling.

Picture of hanger for actual turkey cone

Size difference between turkey cone and chicken
———————————————————–
TL;DR section
Supplies
1 sheet of sheet metal (I used a 3’x4′ steel sheet flashing of unknown gauge)
1 box of 3/8″ nut and bolts (I got a 12 pack, but if I knew how, a steel grommet would be better)
Tin snips if you have them, something to cut metal if you don’t
drill and 3/8″ bit to make hole for the bolts if you aren’t using grommets
sharpie
screwdriver and/or ratchet for the bolts and nuts
Instructions:
Since I was working with a 48″ long piece of flashing I calculated 25.35″ and rounded up to 25.5″ for a final area of 25.5″ height x 24″ base1 x 48″ base 2
- Draw trapezoid to fit the above dimensions with the sharpie or anything that will mark on the metal.
- Cut the metal with tin snips or anything that will cut metal.
- Roll the metal so that the opening where the head will go is ~7″ wide, the top of the cone will be wide enough for giant whites to fit in comfortably.
- Drill the holes along the cone where the metal overlaps, people recommend 5 holes, I made due with 4, or use grommets, I don’t know how, so if you want to know google it.
- Insert the bolts so the flat part of the bolt runs along on the inside of the cone (you don’t want the birds getting cut up by the bolts) and tighten.
- There is a sort of ^^ since my sheet metal wasn’t long enough where the metal overlaps, I just tucked those down with some pliers and installed a hanger. to make the hanger I just took a long piece of extra metal left over from the cutting, folded it in half, and drilled a couple holes through the cone into the piece I made and put some bolts in there to secure it, and I put a couple more holes in the top part of it to attach a couple screws into the wood beam we were attaching it to.