Why I don’t trellis my tomatoes

Why I don't Trellis my Tomatoes

I see many tips and designs for tomato trellises out there. Some quite fancy, some nothing but string. I am not using any of them. My tomatoes are doing just fine growing wild and free.

IMG_2280

WHY I don’t trellis can be credited back to Joseph Lofthouse on permies.com. He is a pioneer in landrace gardening. You can find him here. A few of the quotes that had an impact on me are:

Some people say that landraces arise only by natural means. My response is that landraces are always domesticated, and domestication only happens because farmers select among this year’s crop for the traits that they hope will show up in next year’s crop.

I noticed that plants from my saved seed grew differently… Because my vines tended to arch upwards to keep the tomatoes out of the dirt… Since I don’t stake tomatoes I only save seeds from tomatoes that are not touching the dirt and rotting. So I had inadvertently been selecting for genes that keep the tomatoes suspended in the air without staking.

Now, I’m a lazy farmer. I have a lot going on in my life. Lots to do. So trellising takes valuable time, energy and money. I don’t have any of those resources to spare for something like that. So I planted them and guess what, they’re doing what Joseph’s have done. They are supporting themselves, growing up, vining without support. It is AMAZING to see my tomato bushes. I love how easy it has been. I water every once in awhile but otherwise I’ve done nothing to my tomatoes. I believe we are going to have a bumper harvest this year and I’m a excited to get to eating/freezing and drying these wonderful tomatoes.

I will be saving my own seeds, of course.

IMG_2332

Tomato plant in planter box.


IMG_2334

Tomato plant in tire of kids sandbox. Lower stems are supporting this main stem in growing fairly upright.


IMG_2289

My tomatoes sure are busy this year!

Cider Orchard Establishment

IMG_2188

I am happy to announce that our cider orchard is almost done. Ok, let’s just say it’s officially started. We took a portion of the backyard and fenced it off. We tilled and planted clover and wildflowers as mentioned in this post. The clover and such are filling in nicely, so are the weeds.

IMG_2190IMG_2189

We have a lovely cattle panel arch leading into the cider orchard. I have a kiwi planted near it but that kiwi has been hit and miss for some time so I don’t know that it will recover. If it doesn’t I’ll eventually move some grape cuttings into the area.

IMG_2192 IMG_2198

We have the swales running in a circle around the orchard. They have proven that they can collect water already, though it was more of an aesthetic and ease of watering thing for me.

IMG_2191

The trees are newly grafted heirloom varieties. It took us quite some time to get the infrastructure of the orchard up and thus the trees were in tree pots for some time. These tree pots. They didn’t do all that well in them. It was really hot but I did water them daily. Even still it is my guess that they cooked in the pots. The ones on the outside of did poorly. Some died but the rootstock of some lived. I’m going to let it grow and re-graft later on.

Dead
Dead
Rootstock is alive, graft is dead.

Not all the plants in the cider orchard are cider apples. I have hidden rose apples planted in there because I want to have them close to the house for my personal enjoyment. I also have a black currant bush in there that can be used as a mix in for cider or just for personal enjoyment. Eventually I’ll have a few specialty plums thrown in as well.

black currant
black currant

IMG_2197

The wild flowers and vetch seeds were thrown onto the berm of the swale and into the back of the cider orchard where it is too shady to grow trees and also already has established willow trees.

IMG_2194 IMG_2195 IMG_2196

Where the barn is it is very shady a lot of the time. Thus I am planting a shade garden. I have some hostas, a golden bell flower and a few other things thrown in. The wildflower seeds are doing best in this area.

IMG_2199 IMG_2200 IMG_2202 IMG_2203 IMG_2204 IMG_2205 IMG_2206 IMG_2209 IMG_2210 IMG_2211

Eventually I hope to have a lovely table and chairs and picnic amidst the flowers and trees. I think it will be a lovely retreat for us!

DIY Playground update

a diy playground

I really like this picture. The tires that form the back wall of the tire sandbox are bursting with greens (tomatoes and weeds mostly), everything is shiny and bright and the kids are happy as clams. What’s not to love.

IMG_1890 - Copy IMG_1889 - Copy

Things are growing exceptionally well in those tires. I put a tomato in each. Daughter helpfully weeded 2 of them out. I also have some green onions thrown in here and there and mint growing in a bottom tire.

IMG_1888 IMG_1886

So we finally moved the bucket pulley closer to the sandbox and added hooks to help with toy storage. Do the kids use them? Nope. Daughter is only trying to get the shovel off, she couldn’t btw. Brother had to help her. That clothes basket is what we have been using to hold all of their toys and still use to hold some of them. It is supposed to be hanging on the post but…..life.

Tether Ball being cementedIMG_2157

I also completed the tether-ball, which is a favorite of visiting nieces and nephews.


I ruined the balance beam as well. I had to move the dirt filled tires so we could till for the clover planting. I need to refill the tires and just haven’t got around to it yet. Eventually!

IMG_2158

The clover is coming up spectacularly though!

A walk around the house


IMG_2132

Come take a look around with us. Turkeys approve this message, so long as it comes with snacks.

IMG_2128IMG_2126

Yellow sweet clover? We’ve got 30 acres of that! It’s also freakishly tall.


IMG_2119

I finally found rubber boots for the kids. They want to wear them everywhere now.

IMG_2116

Prince is losing his train and Ella thinks it’s hilarious to try to tickle him with the feathers.

IMG_2097IMG_2110

We saved a butterfly last week!

IMG_2113

Taking a ride to feed the babies.


IMG_2055

Hazelnuts are on the cusp of doing well and dying. how is that possible you ask? Well excessive rain and that sweet clover that grows taller than everything else. Ugh!

IMG_2019

White oaks are doing alright though.

IMG_2013

Ducks still think I’m Satan.

IMG_1976

Paw Paws are doing well!

IMG_1973

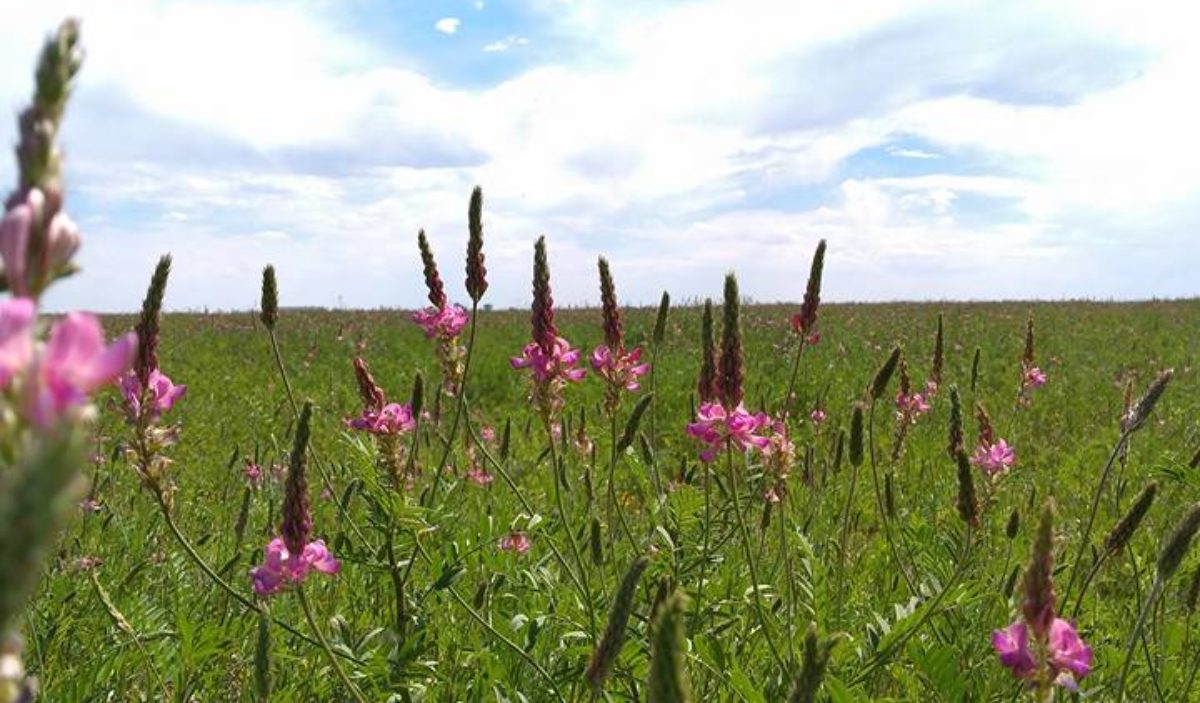
Vetch. Love it!

IMG_1936IMG_1892

We have lots of flowers popping up.

IMG_1959

Bindweed. Super depressing amounts of it!

IMG_1896

The duck and Prince love each other.


IMG_1903IMG_1905

Sugar snap peas. I haven’t cooked a single one. They get eaten right from the pod!


IMG_1875

Grapes are struggling a bit

IMG_1787IMG_1794

Gourds are doing alright. They’re even rooting along the vine. Crazy!

IMG_1820

This is one of the Kraters. It’s doing well!


IMG_1801

Jiki our pyr has to come out with me to protect me from the coyotes!


IMG_1761

We have salad!

Top Bar Bee Hive Construction

Hive

I found this Instructable last winter and knew I had to make it myself. It seemed easy and fairly inexpensive. It took some time for me to get around to it but here it is, my beehive.


I started by cutting a plastic water barrel in half. I then washed it as well as possible.

IMG_1726 IMG_1728 IMG_1729

Then I measured and made a frame for it from 2×4’s.

IMG_1733

I put the barrel in the frame and nailed it into place, which resulted in some major thumb whacking and a band-aid applied by Son.

IMG_1737 IMG_1738 IMG_1741 IMG_1742

Don’t worry, Daughter has a toy hammer she’s “helping” with.

Then I screwed on the legs.

IMG_1745

It turned out surprisingly tall which then required some bracing lower on the legs.

We caulked the gaps between the barrel and the frame with regular latex caulk.

Next I built the roofs out of 2×4’s and metal sheeting that we already had on hand.

IMG_2059 IMG_2058 IMG_2057

I cut a small circle of hardware cloth and glued it over the entrance to the hive. I didn’t want anything bigger than a bug taking up residence in these things.

Then we cut the bars and ran a line of wax down the middle of each to guide the bees.

Lastly we coated the entire inside of the hives with beeswax and lemongrass oil. We hope the oil helps attract a swarm.

The original plan was to keep the hives inside our large lean-to. However, I now believe I am going to build an addition to the lean-to specifically for the hives. That will follow in a later post.

IMG_2115

Wine Bottle Hot Box

Wine Bottle Hot Box Script

We have been saving wine bottles for awhile. We have the benefit of other people’s bottles as well. Husband and I discussed various ways to make a hot box from wine bottles and the results are pretty nice if I do say so myself. We scavenged another wooden trough type structure from the local Kubota. Husband drilled holes in it and bam, hot box. We will be testing this as time goes on. Hot peppers are the current residents of the hot box.

IMG_2069 IMG_2070 IMG_2073 IMG_2074 IMG_2076 IMG_2077 IMG_2078 IMG_2082 IMG_2083 IMG_2085 IMG_2089

A little bit about how this works and why you would want it:

The sun heats up the air inside of the wine bottles. The hot air then pushes through the neck of the bottle and into the soil, increasing soil temperature. This is a good way to increase your growing zone. We chose to put hot peppers in the hot box because of their love for hot soils. I hope to see them take off soon!